5 MUST-DO Activities for Physical Science
Hi teachers! This post is devoted to my fellow Physical Science edu-rockstars. It can be overwhelming trying to find labs and activities for those Physics and Chemistry concepts…believe me…..I know! I’ve taught PS for 13 years and, still, I am constantly looking for fun and engaging activities that won’t just give the students something to do, but will REALLY help them to SEE the concepts that we are learning. Not to mention…it seems as though the standards are CONSTANTLY changing, so finding activities that align to both NGSS and state standards can be a daunting task. Well, let me help ease your worries by providing you with 5 ACTIVITIES THAT YOU MUST INCLUDE IN YOUR PHYSICAL SCIENCE CLASSROOM! Each year, my students have a BLAST with these activities, but more importantly, each of these activities HELP them learn the content! So without further adieu, let me introduce my 5 FAVS!
#1. Electricity STEM Challenge
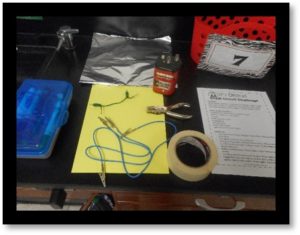
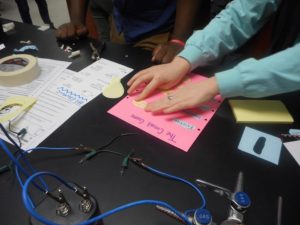
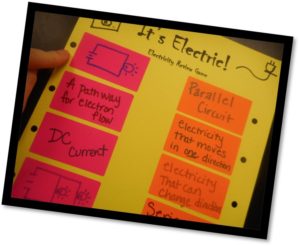
Boost your students’ understanding of electrical circuits by providing them with various supplies (aluminum foil, tape, card-stock, batteries, Christmas lights, and conductive wire) and have them create something that “lights up.” It is AMAZING to watch students use their creativity in this lesson. I go a step further and have my students design a game-board that works by using their knowledge of electrical circuits. They must connect a question to its right answer by using a conductive material and light source (Christmas lights). Once the question is connected to the correct answer, the light illuminates! Of course, if the question is wrong, the light will not illuminate. The great thing about this activity is that it takes some trial and error before the game board works perfectly. Inevitably, students will overlap their conductive material and create parallel circuits. It’s so much fun watching my little engineers problem-solve and then boast at their finished products.
To get this IT’S ELECTRIC: STEM CHALLENGE from my TPT store, click HERE.
#2: Heat Energy Ice Cream Lab
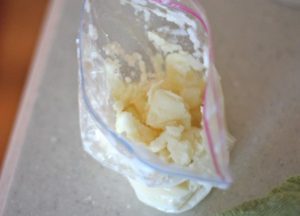
Ice cream….need I say more? This is one that I love just as much as my students! They forget that they are learning AND it’s always a good lab when it ends with a frosty treat. I use this activity to reinforce phase changes and heat energy (moving from one system to another until equilibrium is met). I also add in some research by having them search for the reason why we use rock salt when making ice cream and why ice is sprinkled on roadways during the winter months. Use this recipe from Delish.com and create your own lesson or grab my complete lab activity and student lab sheet by clicking HERE.
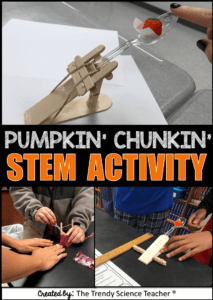
#3: Pumpkin’ Chunkin’ STEM
Of course this is a fall time favorite in my classroom, but if your Force and Motion unit falls at a different time of year, you could totally substitute a pumpkin for some other seasonal projectile (marshmallow Peep, lucky charm cereal, peppermint, etc.). This activity is easy to set up and is completely student directed- which is a nice break for the teacher. I place random materials (popsicle sticks, hot glue, tape, rubber-bands, string, plastic spoons, small Dixie cups, etc.) at each lab station and turn them loose. Their task is to create a catapult that can launch a candy pumpkin 2 meters. I use this STEM activity after I teach Newton’s 3rd Law of Motion so that they can use their knowledge of Forces and Newton’s laws to complete their task. On the second day, I print targets (with point values attached) and each group plays a game to see who can earn the most points by launching their candy pumpkins toward the points on the target. SO MUCH FUN!
If you’re interested in grabbing this Pumpkin’ Chunkin’ STEM activity from my TPT store, click HERE.
#4: Forms of Energy Stations Lab
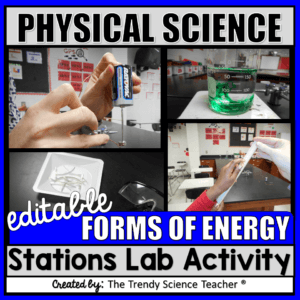
For years, I couldn’t figure out why my students couldn’t identify energy transformations. It took me about 5 years to realize that they didn’t understand because they couldn’t VISUALIZE how energy can change from one form to another. From this problem, was born my Forms of Energy Stations Lab. In this lab activity, I have the students travel through 9 different stations where I set up various examples of the different energy transformations. It was a GAME CHANGER for my students, as now they are able to SEE the different energies at work. Here are a few examples of stations that I set up around the room:
- Magnesium– students light a strip of magnesium to see potential energy-> chemical energy -> radiant/heat energy (*If you’re not comfortable with the combination of fire + middle school students, you can find this chemical reaction on YouTube by searching “burning magnesium.”)
- Food coloring dropped into warm water– students see how heat energy can move the coloring through the water (kinetic energy)
- Rotating Disk– I use a battery, screw, round magnet and copper wire to create a spinning magnetic disk. Students are able to see potential energy -> electrical energy -> kinetic energy
- Marble/Ramp– we place a plastic cup at the end of a 6 ft piece of PVC pipe and roll a marble down the pipe to hit the cup at the bottom. Then, the students measure the distance that the cup is pushed out upon impact of the marble. I then have the students start the marble from half way down the PVC pipe and have them observe the difference between how far the cup moves when the marble is rolled from the top of the incline to the middle of the incline. Of course, the greater the potential energy (the top of the pipe), the further the marble will push the cup upon impact.
- Computer Research– I also have several stations where I have the students watch short video clips about energy transformations via YouTube and have them answer questions about the clips.
If you are interested in checking out my station printables, student lab sheet and teacher set-up instructions from my TPT store, click HERE.
#5: Which Falls Faster, a Muffin or a Moose?
Last, but certainly not least, is a student favorite for teaching gravity, acceleration and free-fall. Why do my students rank this lab as one of their top Physical Science FAVORITES? Because they get to stand on desks/lab stations and drop objects so that they CRASH to the ground and make LARGE sounds! Yep…I allow my students to stand on the lab stations to drop various objects- all for the sake of SCIENCE. The students compare drop rates for objects such as books, styrofoam balls, paper, marbles, etc. so they can ultimately answer the question: If dropped from the same place, at the same exact time, which falls faster, a muffin or a moose? (Of course, we are assuming both objects are in free fall!) We don’t really drop muffins and moose (yeah…I had to Google the plural of moose), but using their knowledge from the lab, students are able to draw a conclusion. We have a large class discussion where students have to defend their answers. I even had one group this past year, whip out their phones and PROVE their point by showing the class a SLO-MO video of their experiment captured on her iPhone! Genius!
Want to grab this SUPER-FUN ACTIVITY FOR FREE? Click the picture below and I will send it directly to your email inbox!
As always, thanks for hopping over to my blog! I hope that you found it helpful. I’d love to connect with you on Facebook, Instagram and Pinterest!
Until next time! Have a fantastic week 🙂

Share it:
- Read more about: PHYSICAL SCIENCE

