Hosting a mock crime scene is an exciting way to bring your curriculum to life and engage your students. If you’ve been wanting to execute a mock crime scene in your Forensics classroom, but aren’t sure where to begin, I’ve got you covered! Today, on the blog, I’m sharing my tips for Hosting a Mock Crime Scene in Forensics.
Here are some strategies for ensuring your mock crime scene is successful and educational:
Note: This post contains affiliate links for Amazon. As an Amazon Associate, I earn from qualifying purchases. By purchasing an item on the Amazon site using these links, I will receive a small commission on your purchase. This commission does not affect the price of your item
Begin with the End in Mind
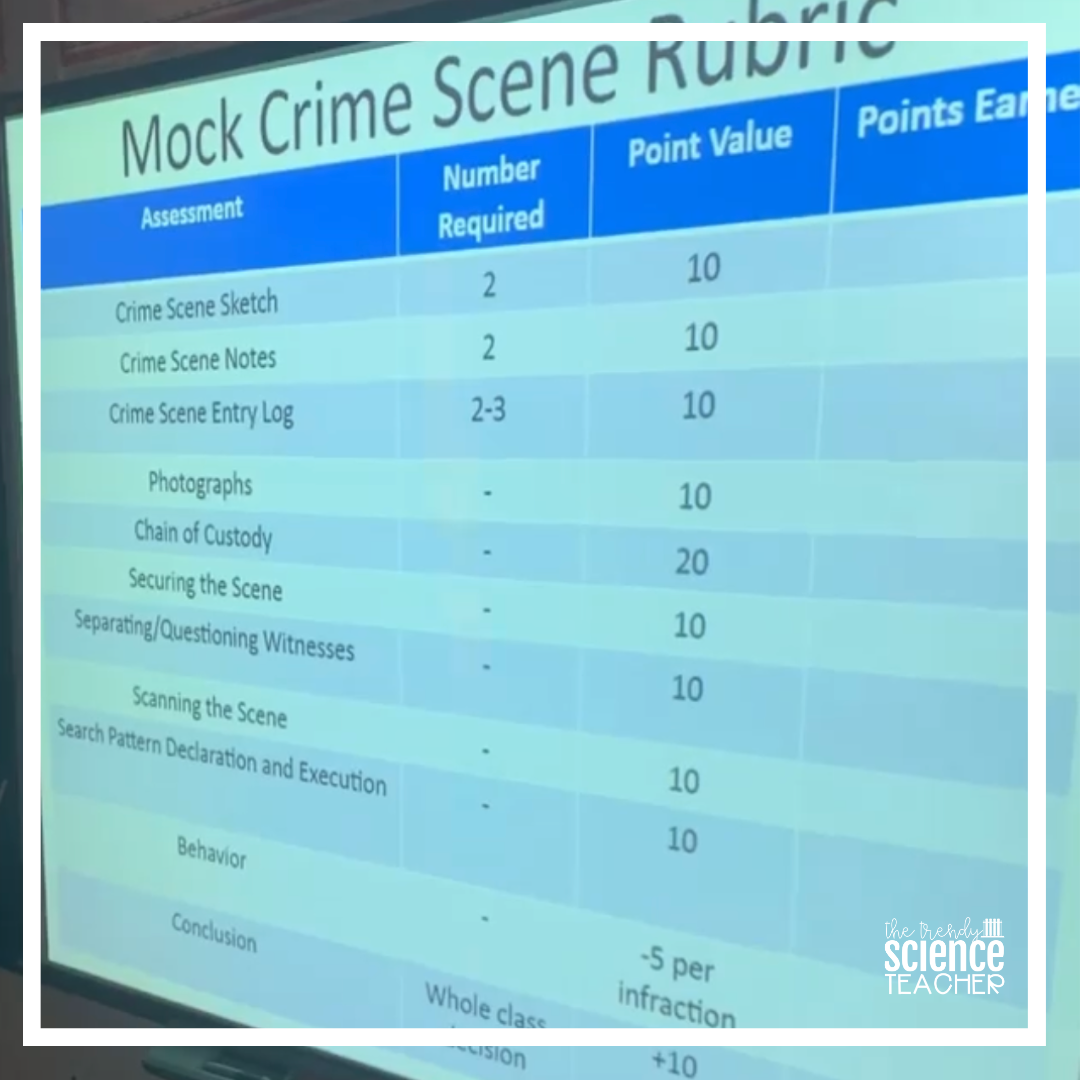
Start by deciding how you will be assessing your students during the mock crime scene. Will you be grading them on their ability to process the scene? Have you recently taught a skill on which you can assess your students? Will this be a student-directed performance assessment or will you be providing assistance? Is this a class grade or an individual assessment?
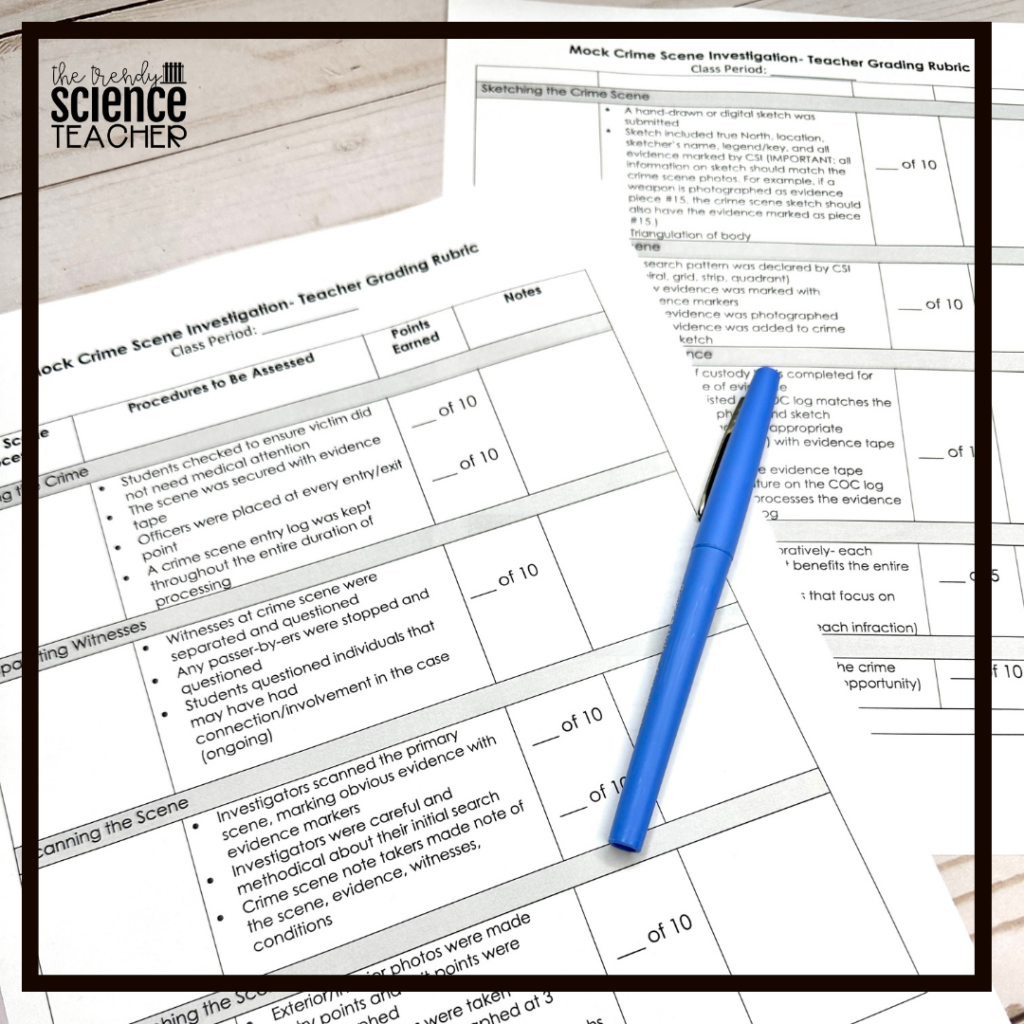
When I host mock crime scenes in my own classroom, I have my students work collectively, as a class, and offer a class grade. I grade with a rubric that I provide my students prior to the assessment so that there’s no surprises- students know exactly how they will be graded. (To get the rubric and all of the other resources that I use for my mock crime scene, click HERE.)
Create a Storyline
Once you are clear on your end goal, create a storyline that is realistic and believable. Write out a script for the scene, including suspects, evidence, and an intriguing storyline. Decide who the perpetrator is and what clues will lead students to that conclusion so they have a trail to follow.
After teaching my forensics students about crime scene processes, I host an end-of-the-unit mock crime scene called “The Case of Ima Minor.” The storyline is so much fun because it includes our school faculty and staff. My co-workers are always incredibly generous to help and they have a blast being interviewed on “interrogation” day.
Gather the Evidence
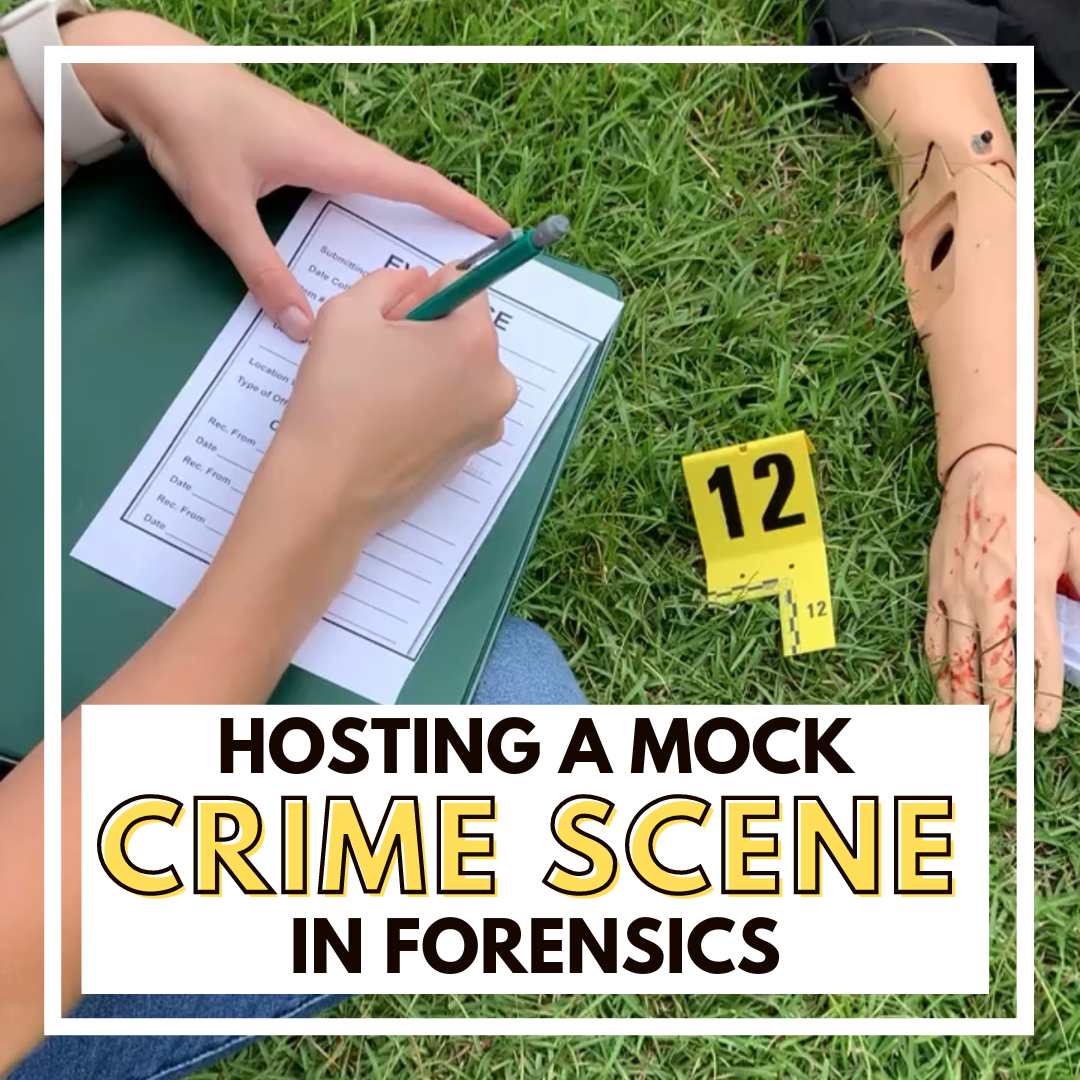
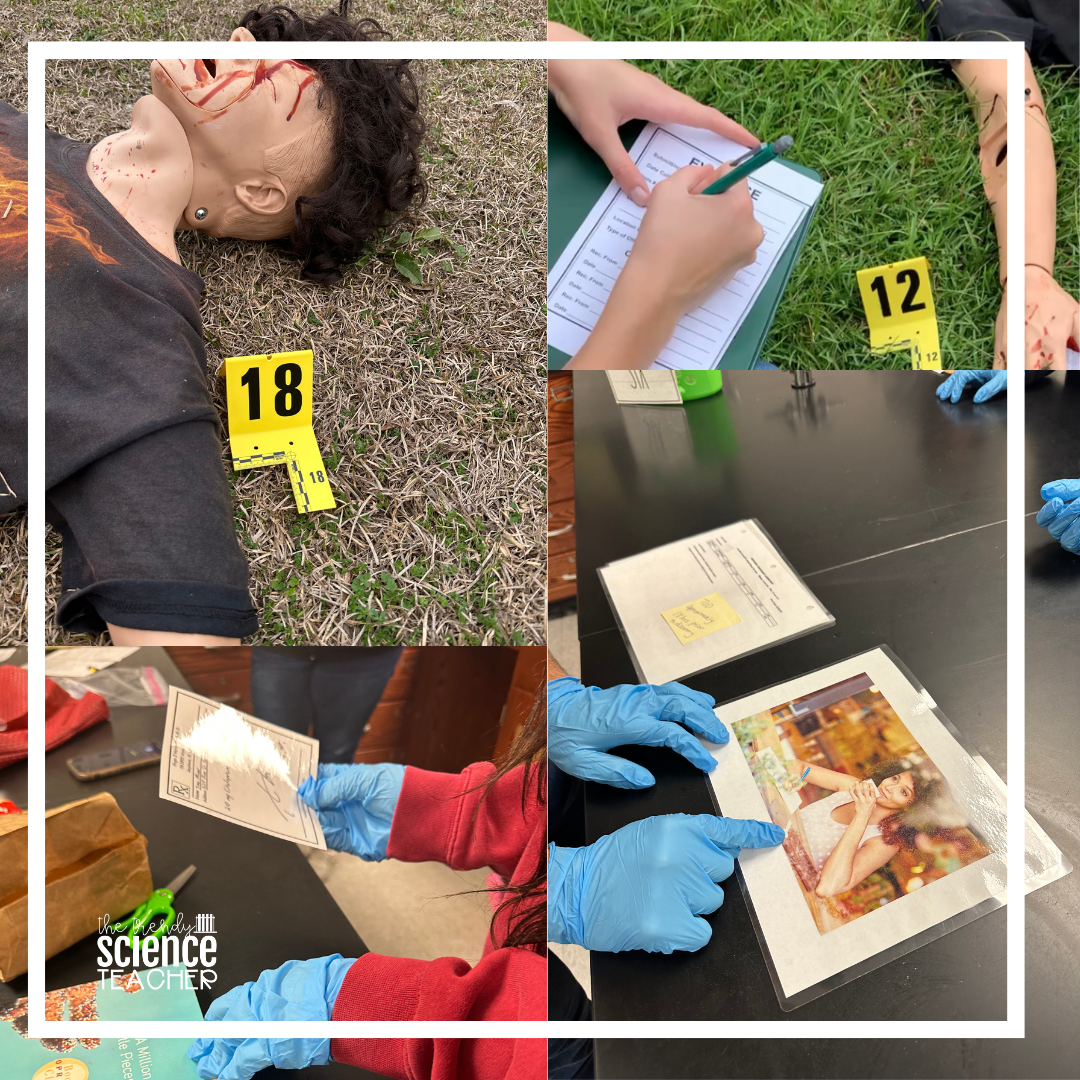
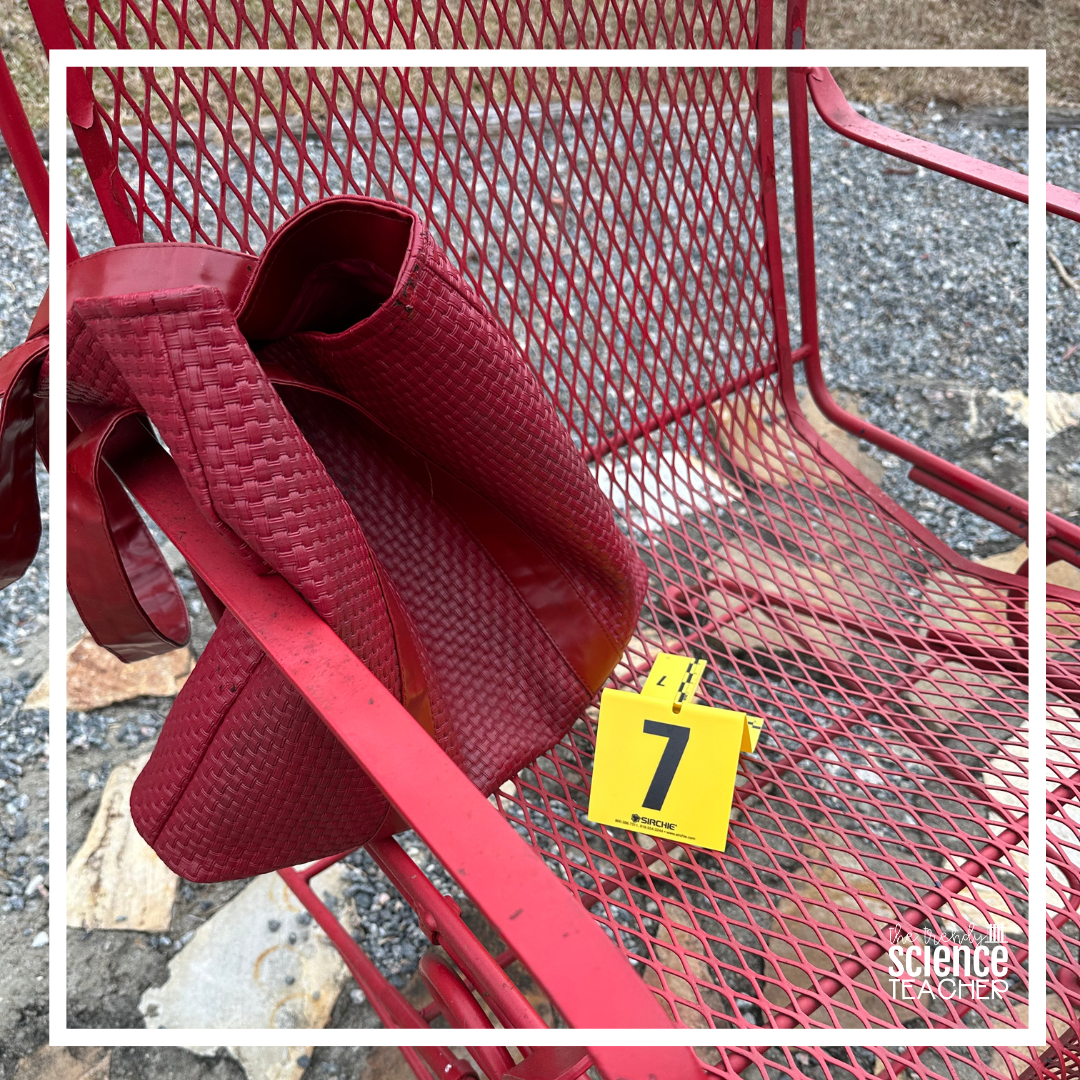
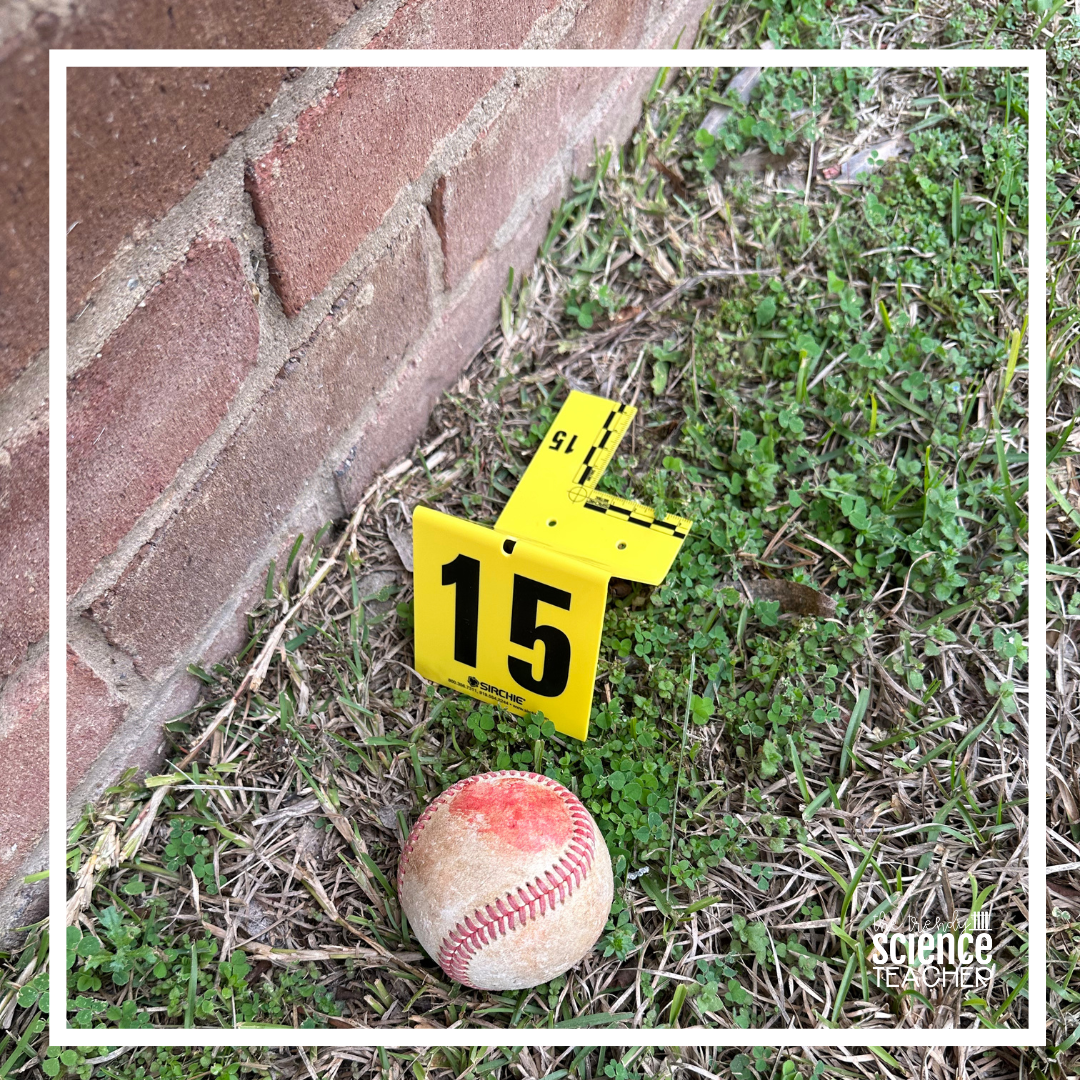
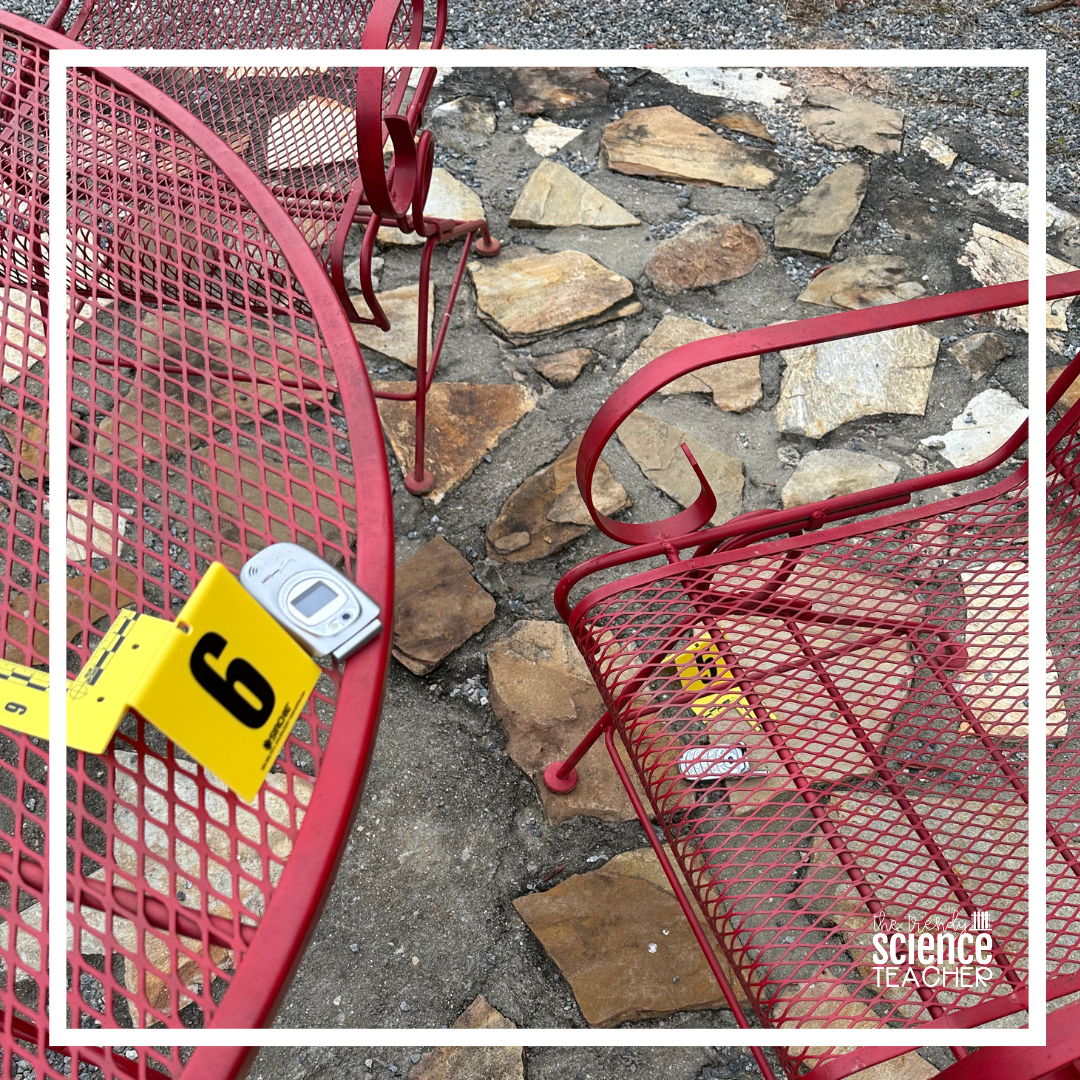
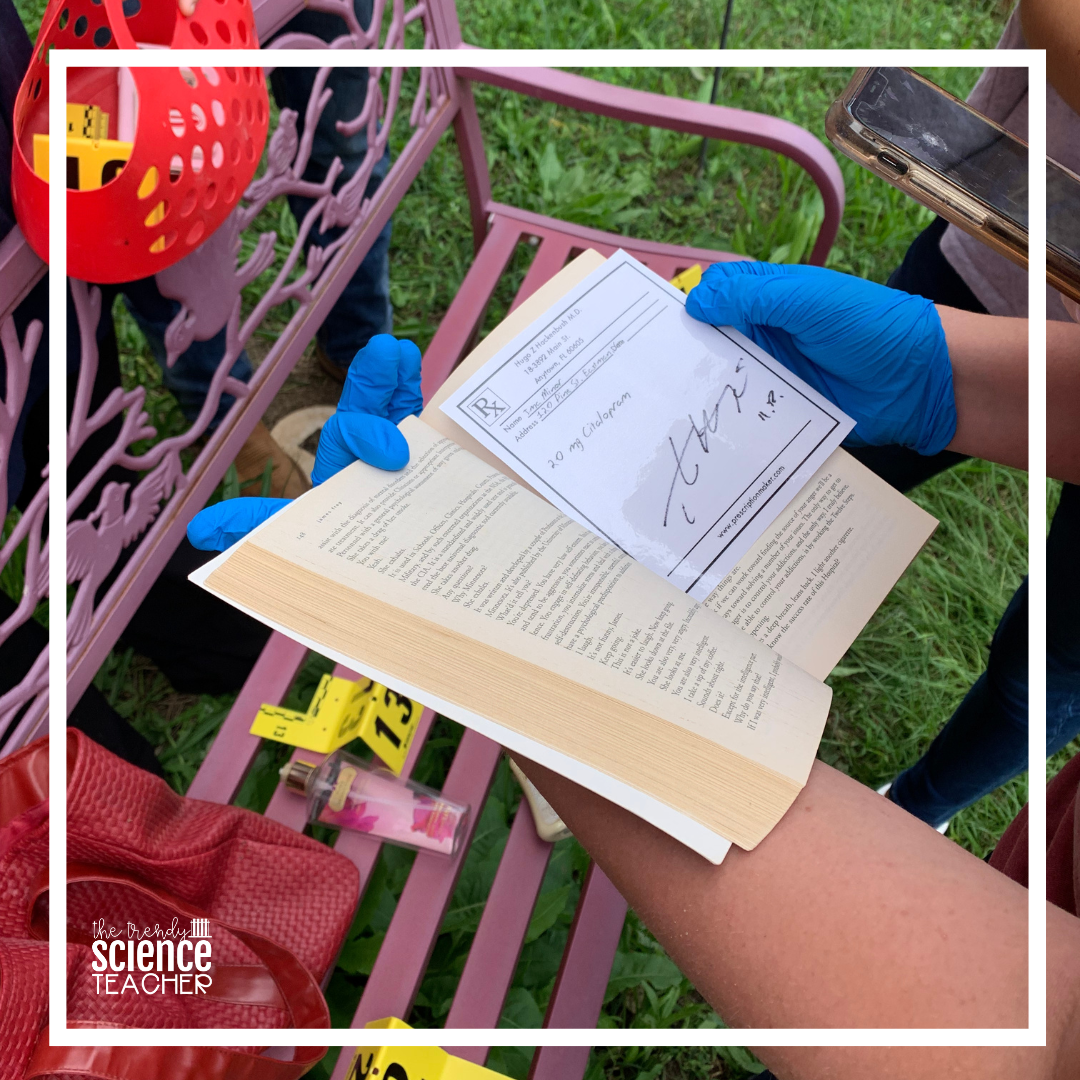
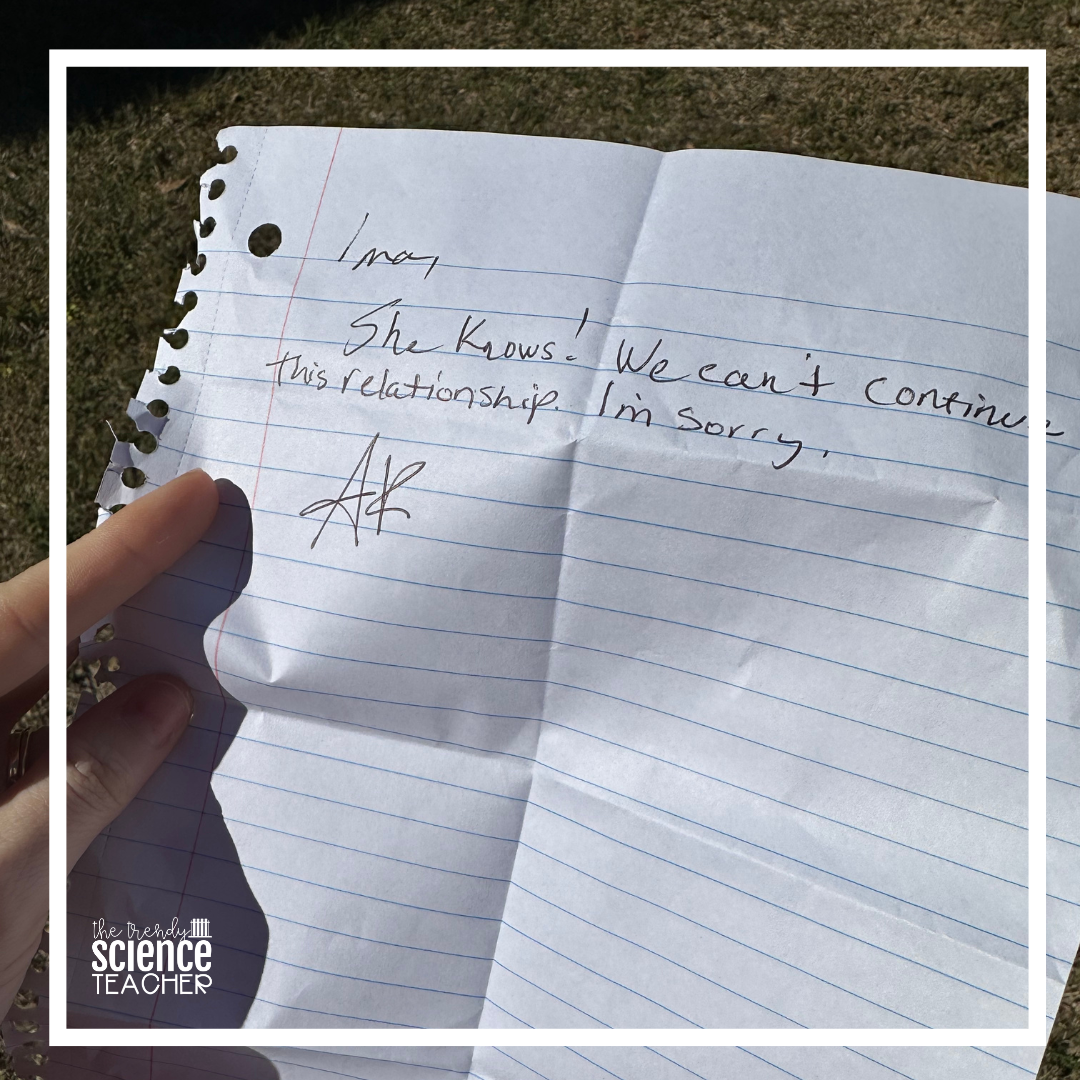
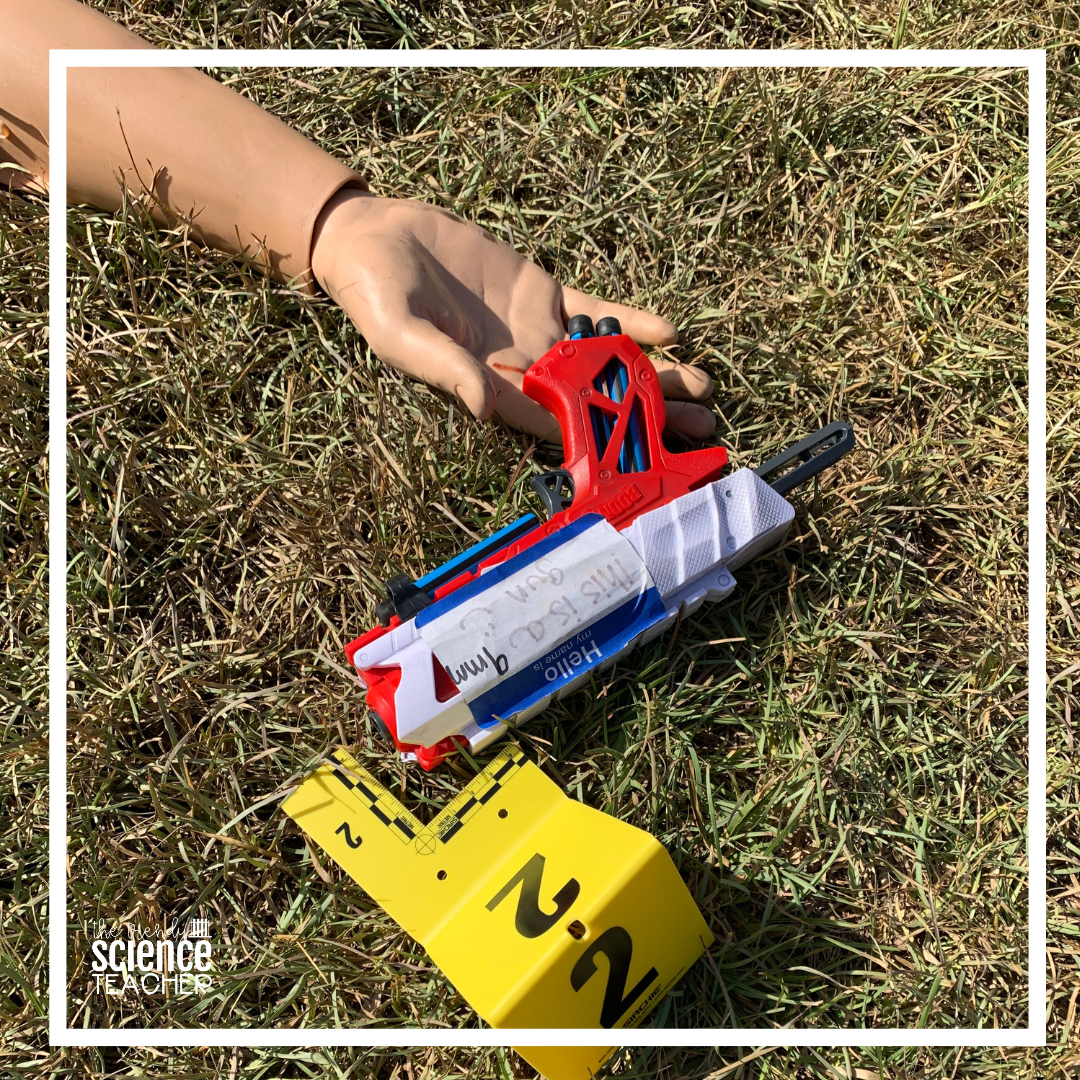
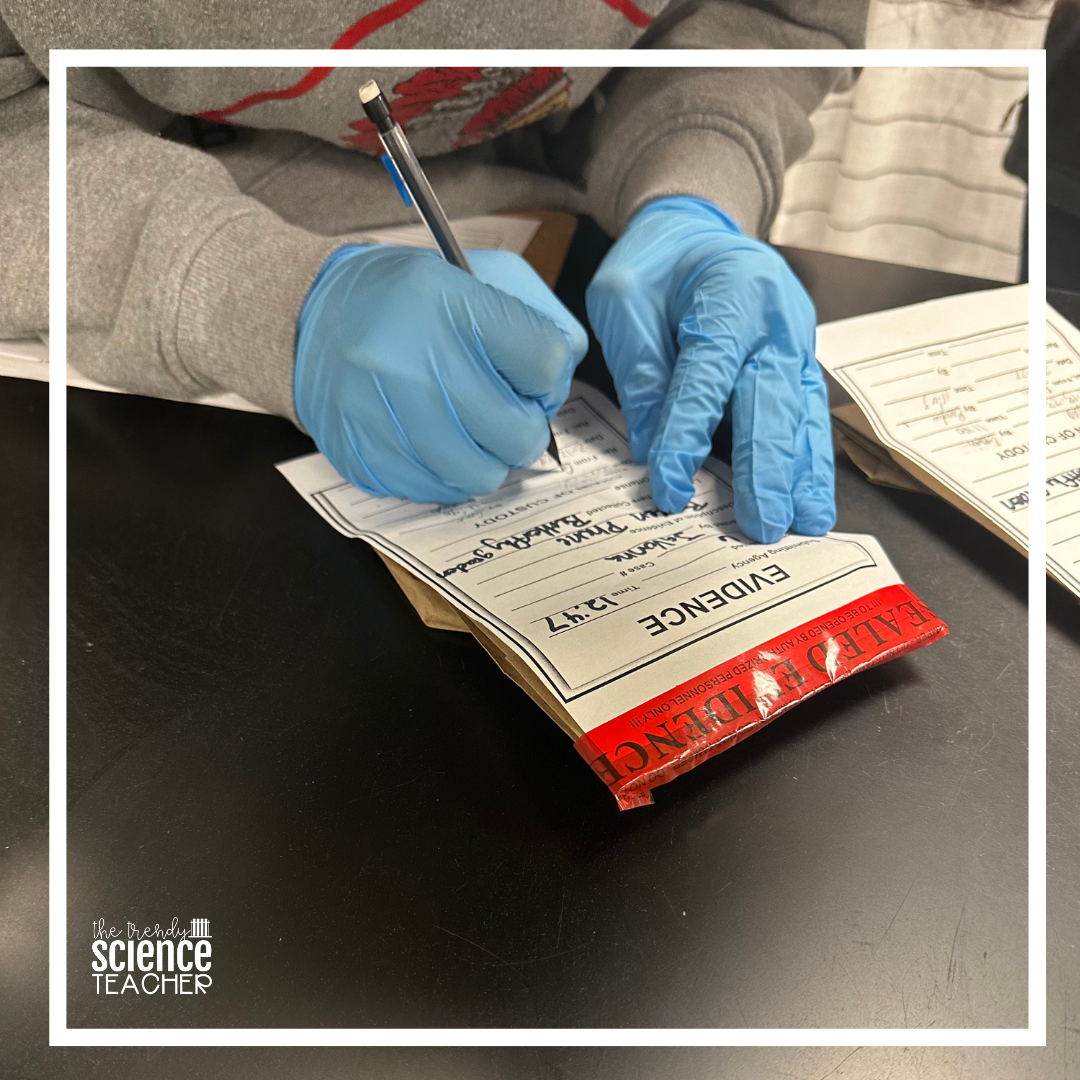
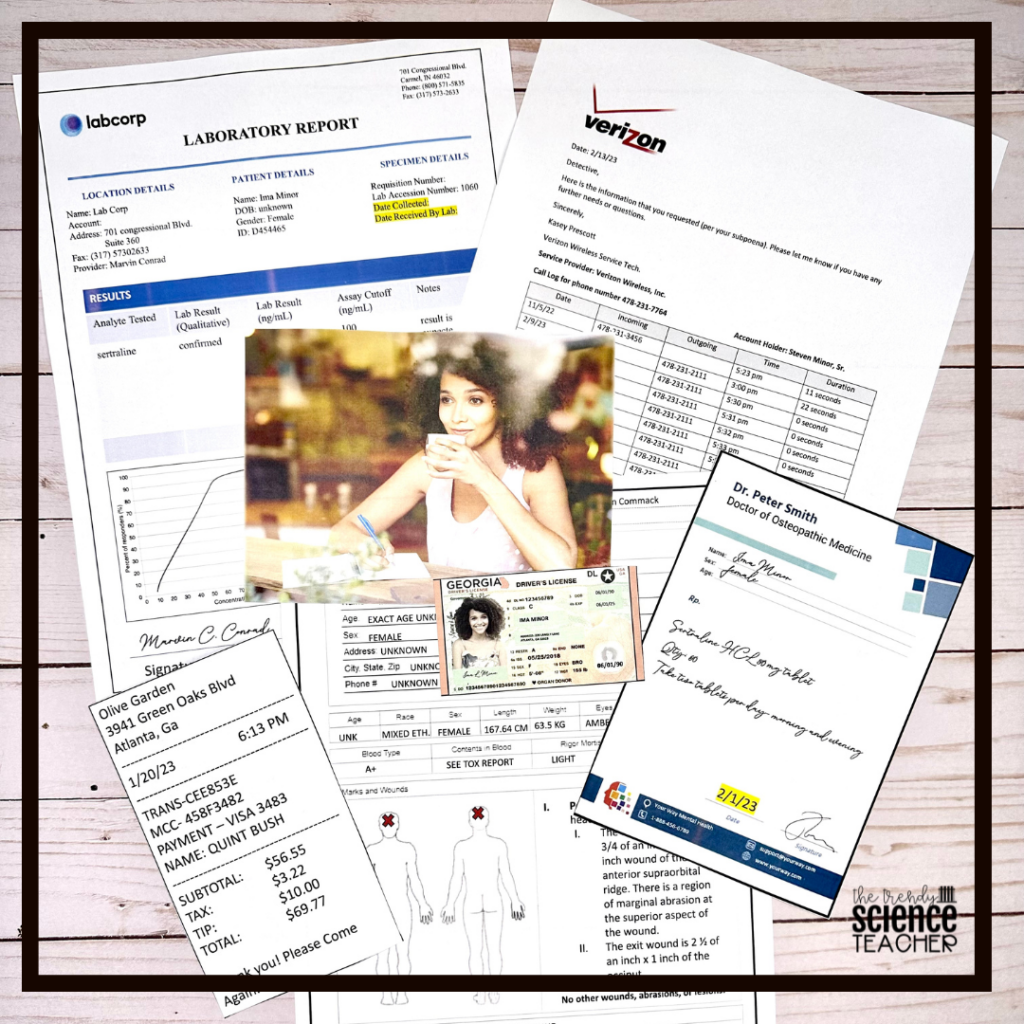
Once you have created a storyline for your crime scene, you will now gather the evidence that you will leave behind at the crime scene. This can include physical evidence such as fingerprints, footprints, notes, mystery powders, etc. Cigarette stubs, gum and empty coffee cups yield DNA. These are great options if you have already discussed biological evidence with your students. If you want students to use witnesses as well, find people willing to be interviewed or type up “reports” giving pertinent information.
Here are some examples of the evidence that my students discover when working the “Case of Ima Minor” mock crime scene.
Pick a Space to Set Up the Crime Scene
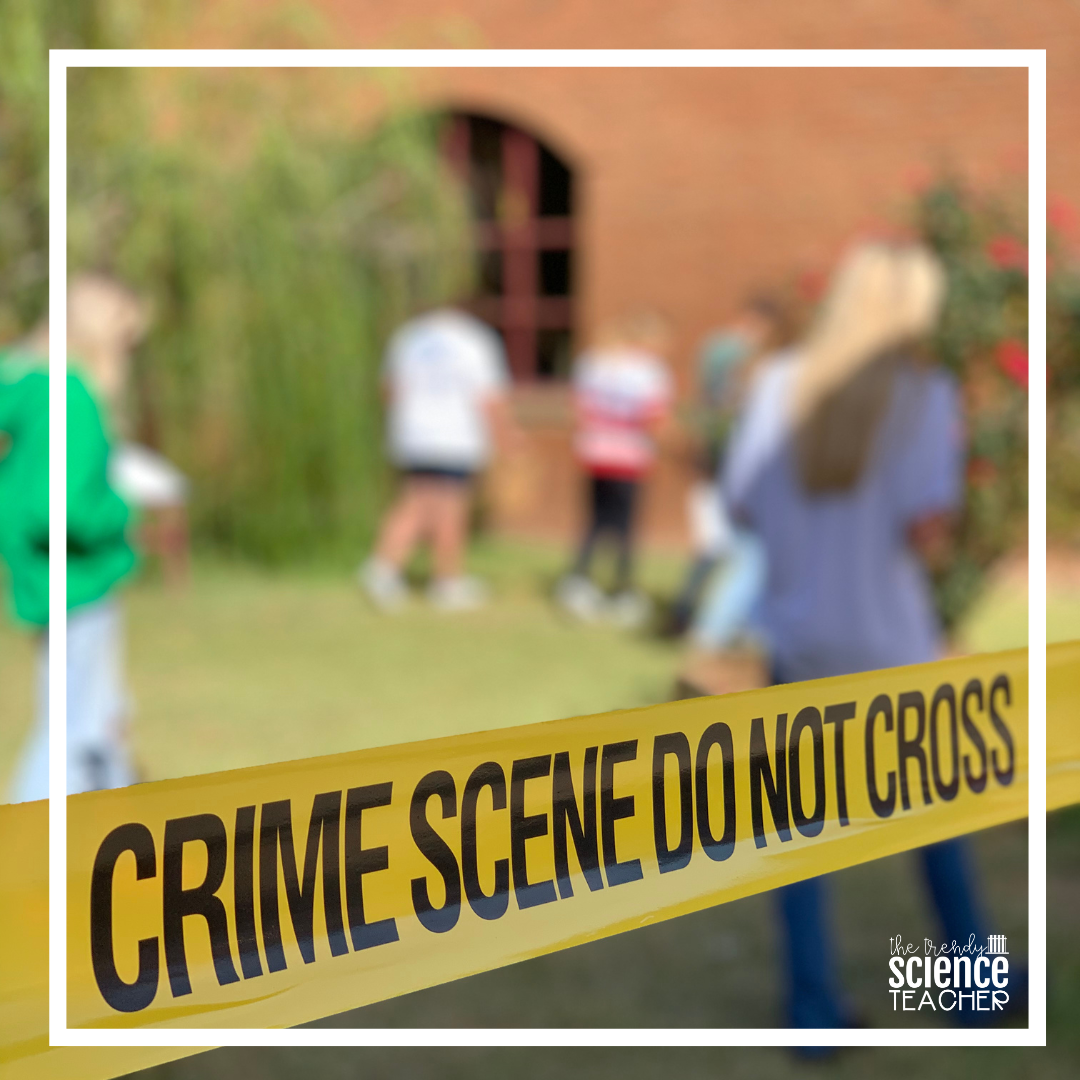
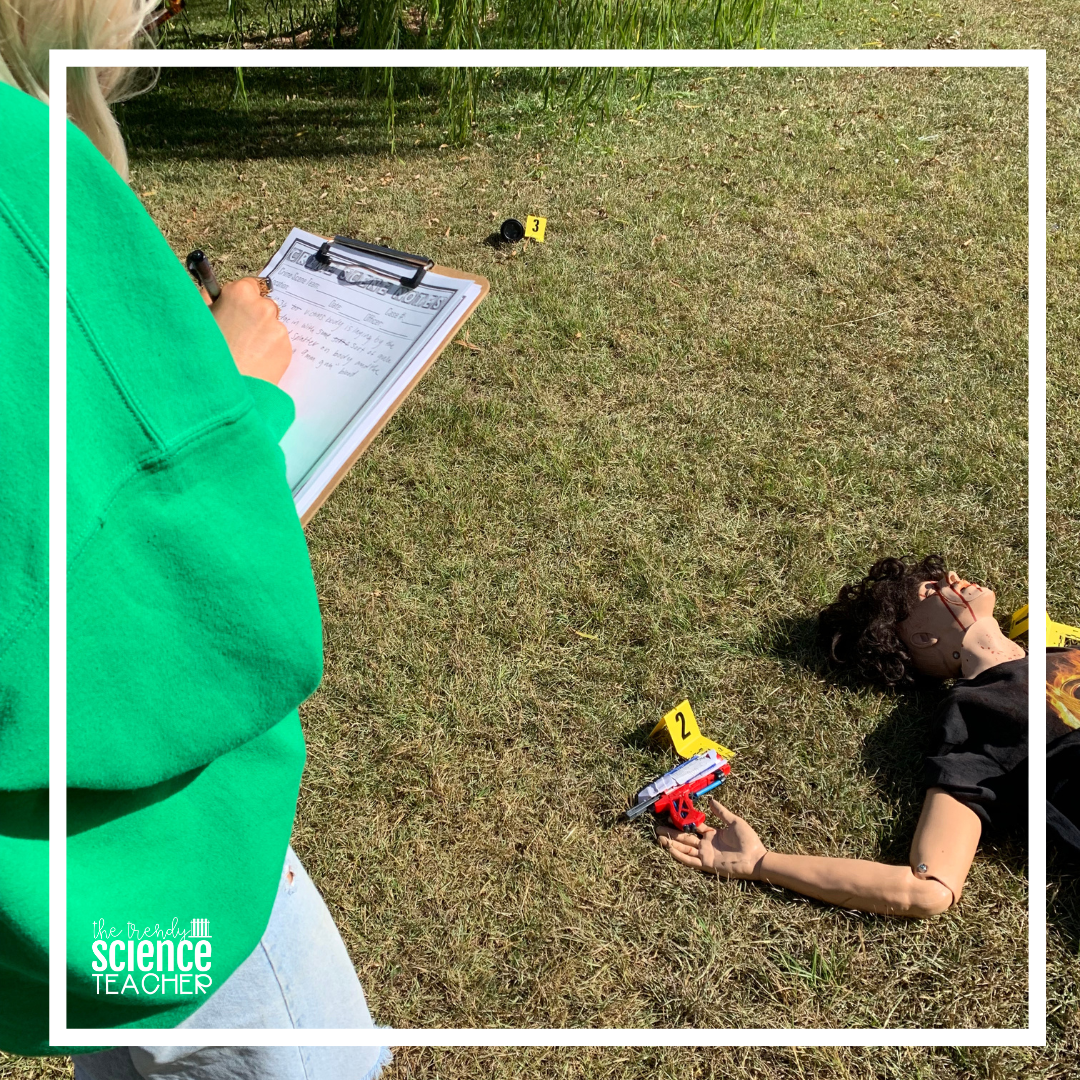
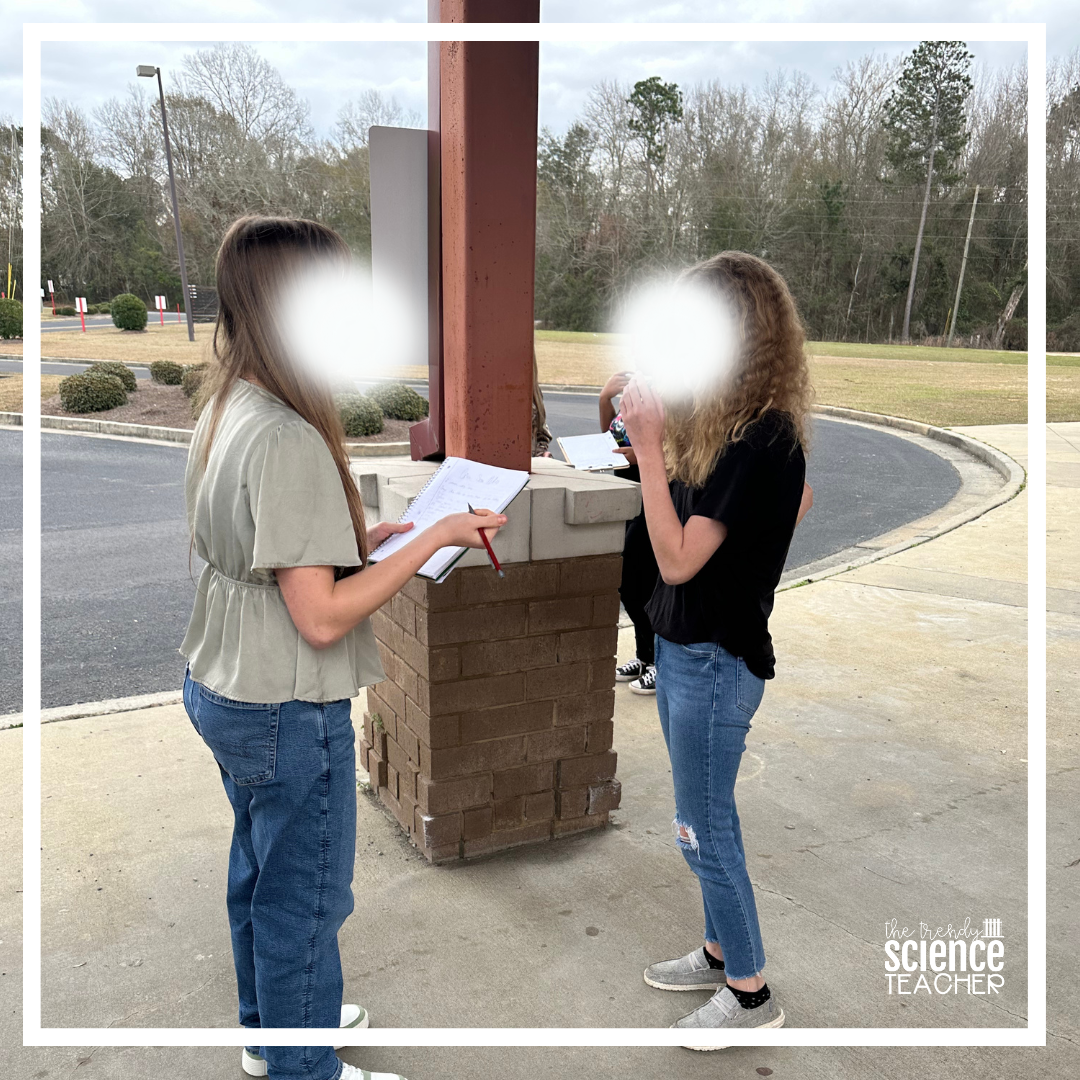
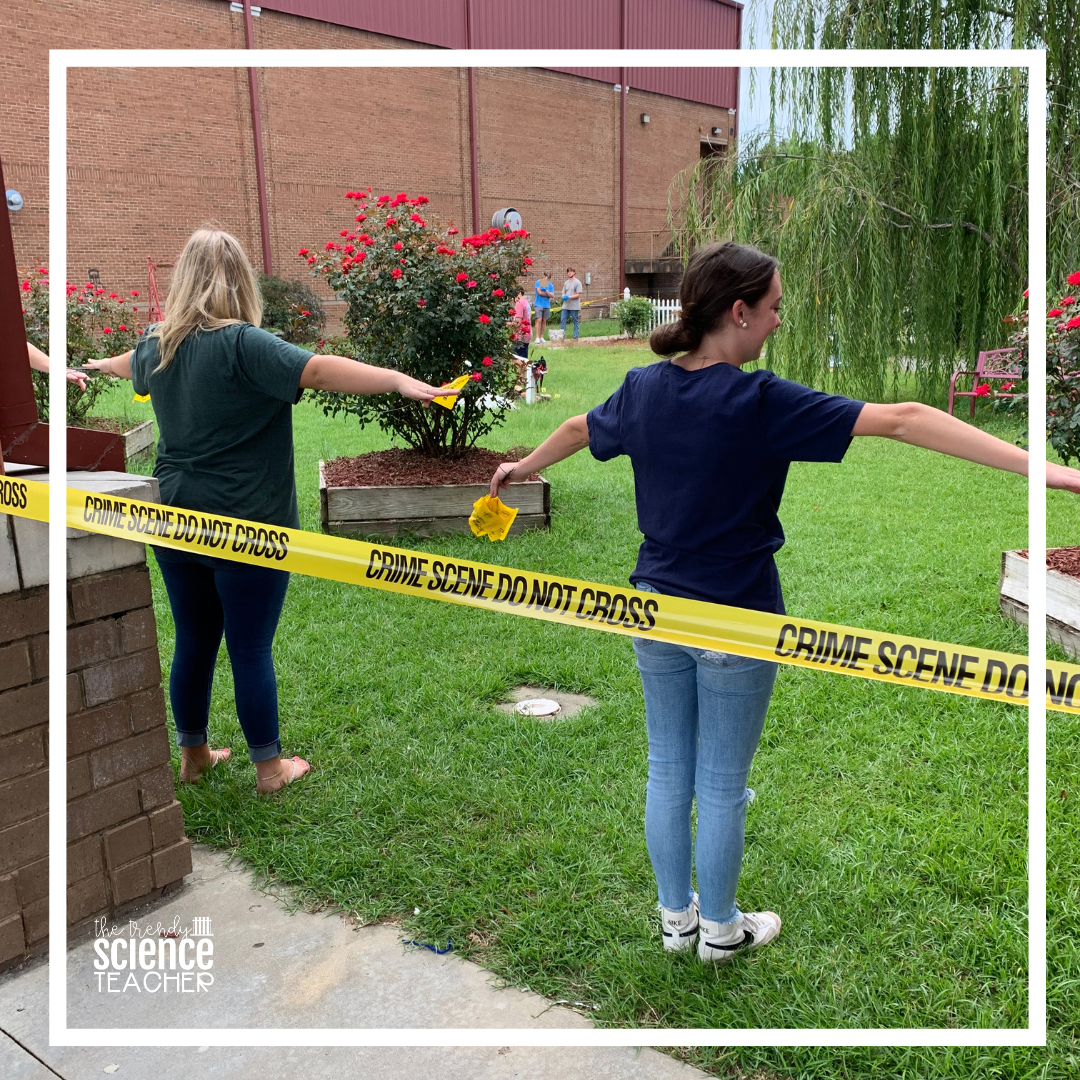
Next, choose a space that your students can easily work in and set up your crime scene there. In “The Case of Ima Minor,” I set up this scene in our school’s butterfly garden- an area adjacent to our school gymnasium. I sometimes have 30 or more students in one class, so this outdoor space is perfect for housing all of my students comfortably.
Also, there’s not a lot of traffic in this area, so I can rest assured that my scene isn’t tampered with while I am waiting for my students to arrive.
Prep Your Students
Before examining the scene, students will need access to appropriate tools and information. They need adequate time to discuss crime scene processes and procedures and to formulate a plan of action. I like to build in a “prep day” that allows me to discuss expectations with my students. I show them the rubric that I will use to grade them and allow them time to create a “crime scene kit.”
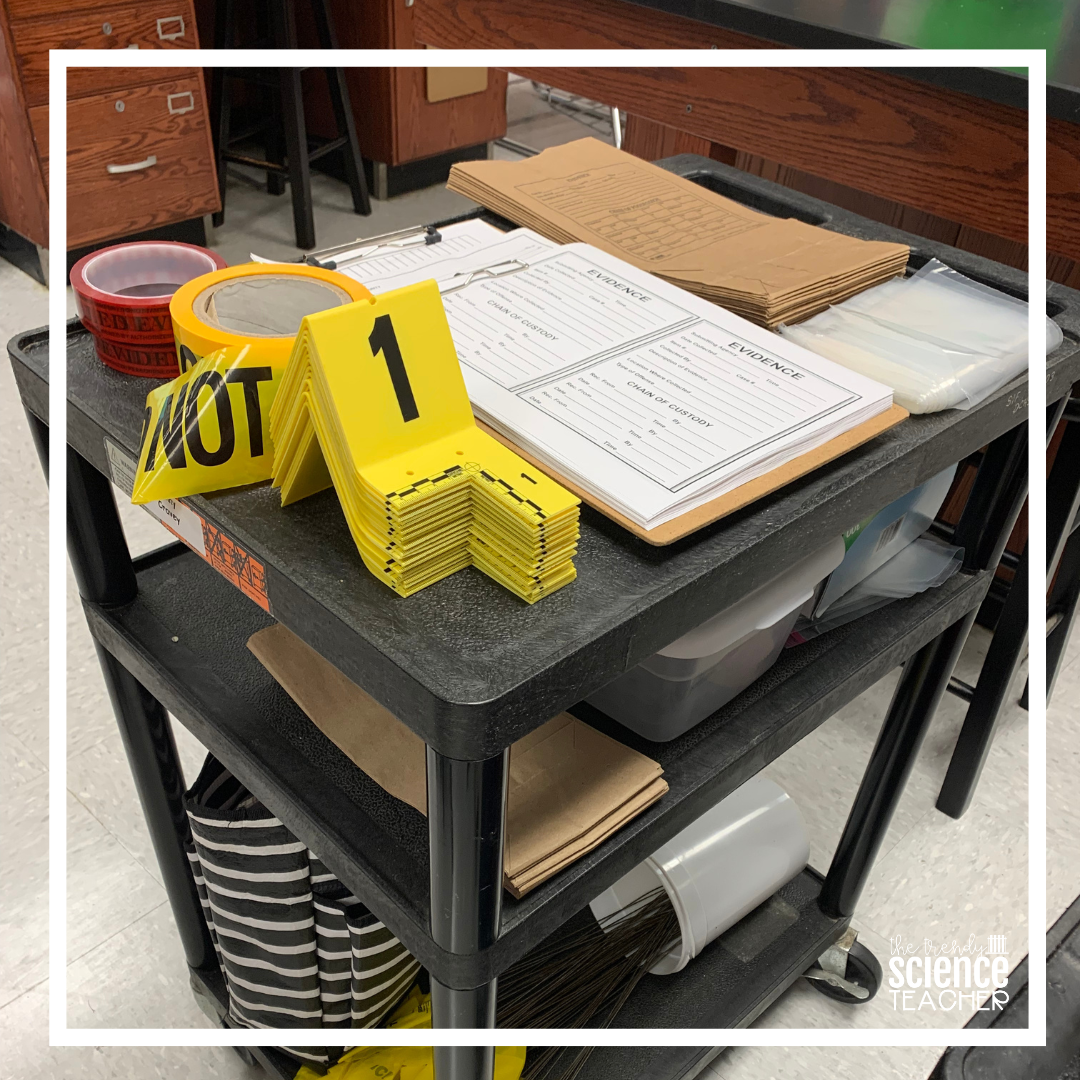
Here’s a list of supplies that my students usually pack in their “crime scene kit.”
- Crime Scene Tape
- Gloves (various sizes)
- Crime Scene Entry Logs
- Clipboards (I purchase a pack of 12)
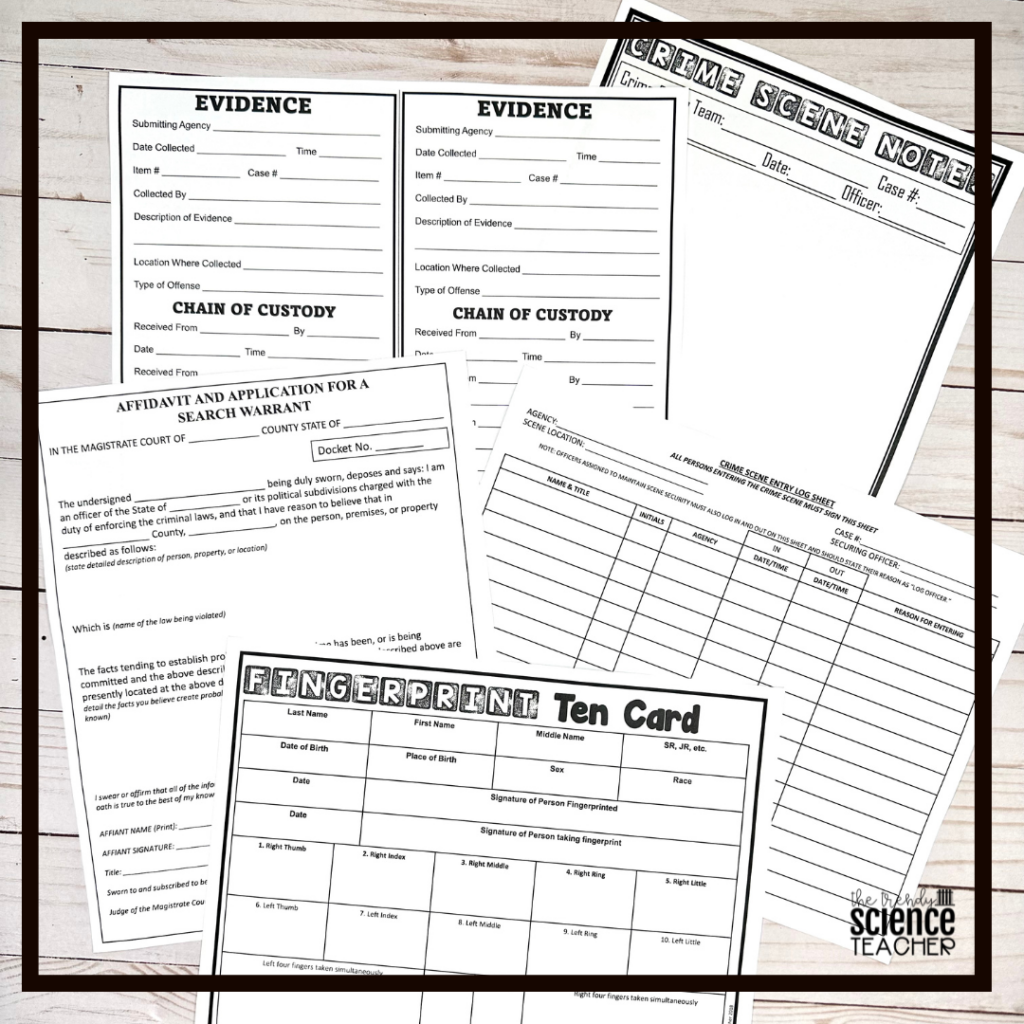
- Crime Scene Notes printable (included in template & printables folder)
- Evidence markers and flags
- Cameras (I have two photographers and they use their cell phones to take pictures.)
- Graph paper, ruler, and measuring tape (for sketchers)
- Gallon Ziploc bags
- Quart Ziploc bags
- Paper evidence bags (or paper lunch bags)
- Evidence tape (masking tape or packing tape works too)
- Sharpies
- Chain of Custody Logs
Divide the Tasks
If I’ve learned one thing in the past 12 years of hosting mock crime scene, it’s that you must divide the tasks into days. When I host my “Case of Ima Minor” mock crime scene, I allow for 5 days to prep, process, analyze, and conclude. Here’s what the breakdown looks like for this particular case:
- Day 1: Crime Scene Prep– students pack their crime kit and delegate roles within their lab groups
- Day 2: Crime Scene Processing– Students show off their 7 S’s of CSI skills, processing the scene, collecting evidence, and securing evidence.
- Day 3: Analysis of Evidence– Students discover what their evidence means and formulate a suspect list from their new found knowledge.
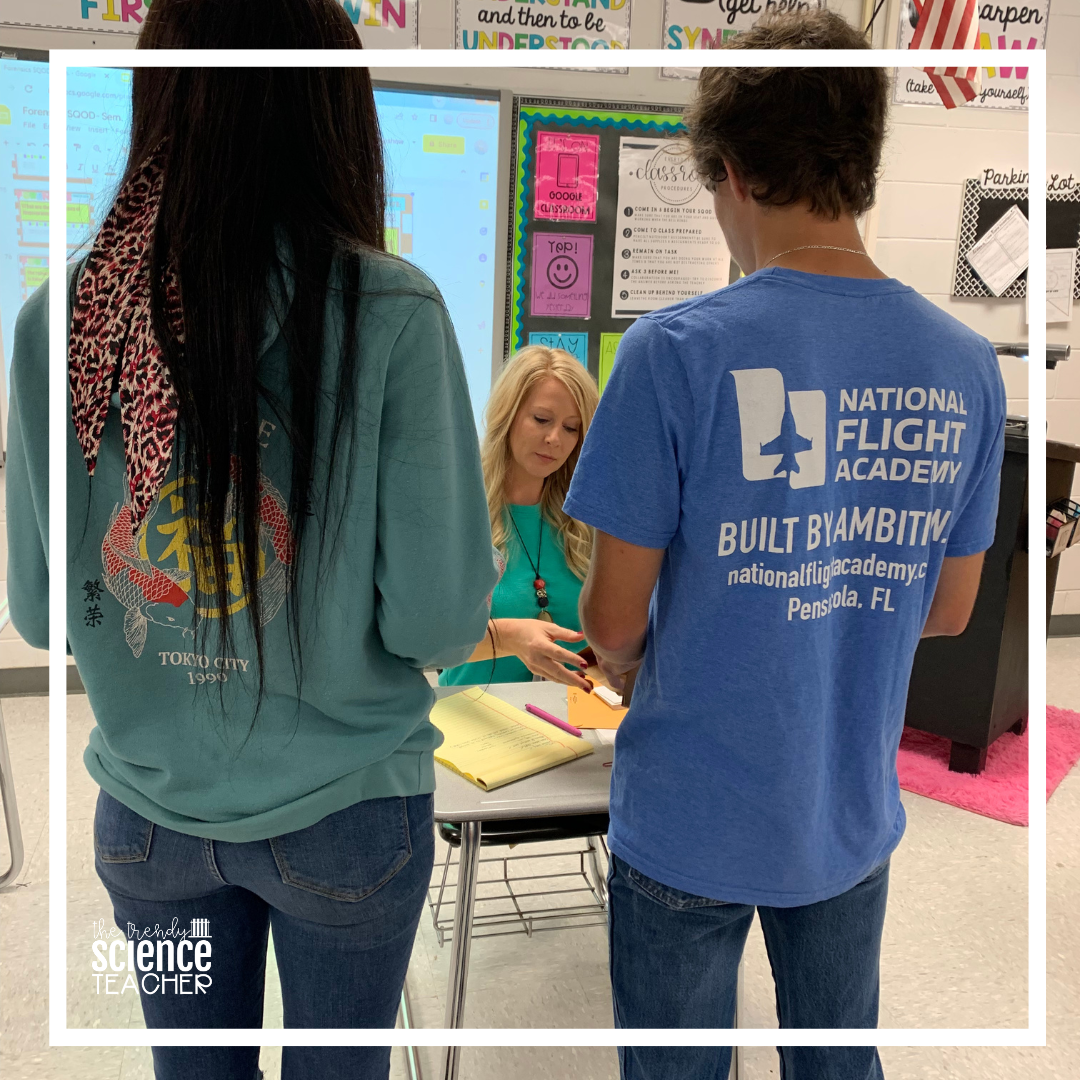
- Day 4: Suspect Interviews and Interrogation– Student divide and conquer… small groups of students question their suspects and bring information back to the classroom for deliberation.
- Day 5: Class Deliberation– This is where the students each share their knowledge with their classmates and the class formulates their final conclusion.

Execute a Successful Investigation
By following the steps above, you can be sure that your mock crime scene is successful, educational, and memorable for your students. It might take a little bit of effort on the front end, but your students will appreciate the time investment for a few days of engaging CSI work. Just be sure to have fun yourself and enjoy the experience!
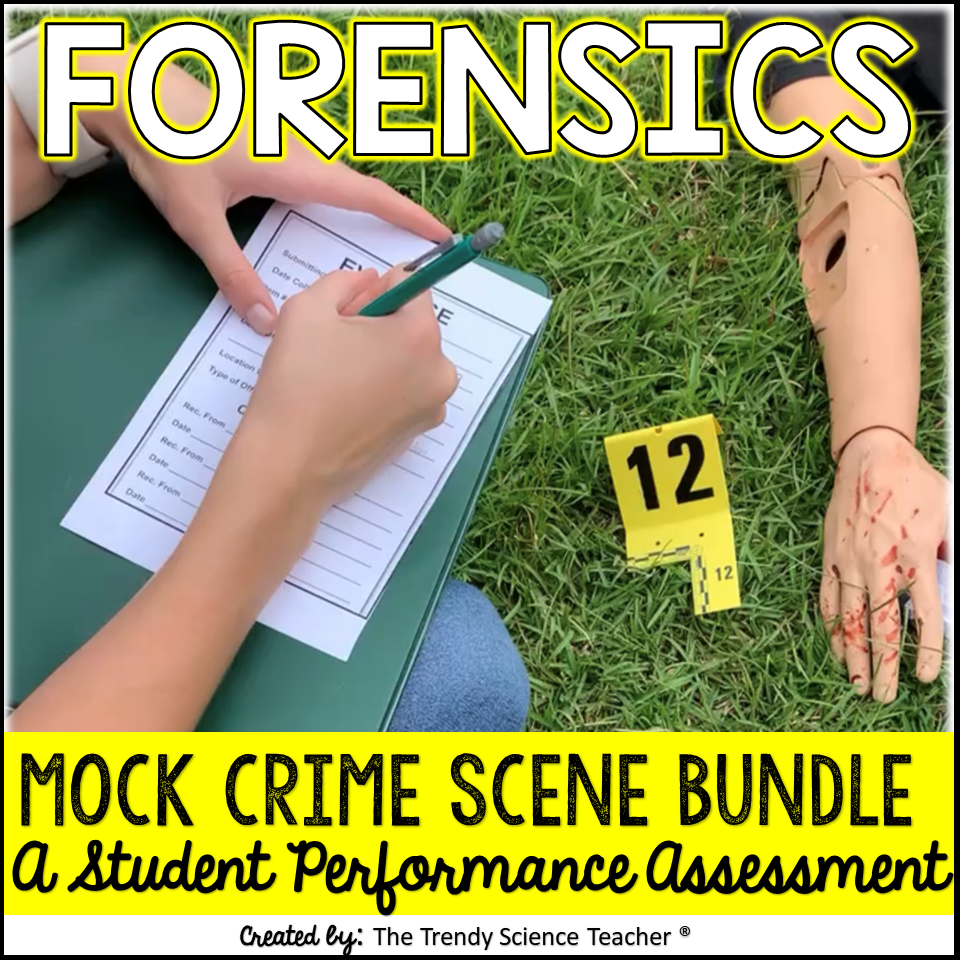
Want to host a mock crime scene, but are not sure where to start? Check out my Mock Crime Scene- Student Performance Assessment (The Case of Ima Minor). In this resource bundle, I have included everything that you will need to plan and implement a successful mock crime scene.
Hosting a Mock Crime Scene in Forensics doesn’t have to be time consuming. My ready-to-implement crime scene bundle includes editable templates that you can customize to fit your needs.
Thanks for hopping over to the blog to catch my tips for Hosting a Mock Crime Scene in Forensics. I hope you found something that you can use in your own classroom!
Until next time, happy teaching.

