
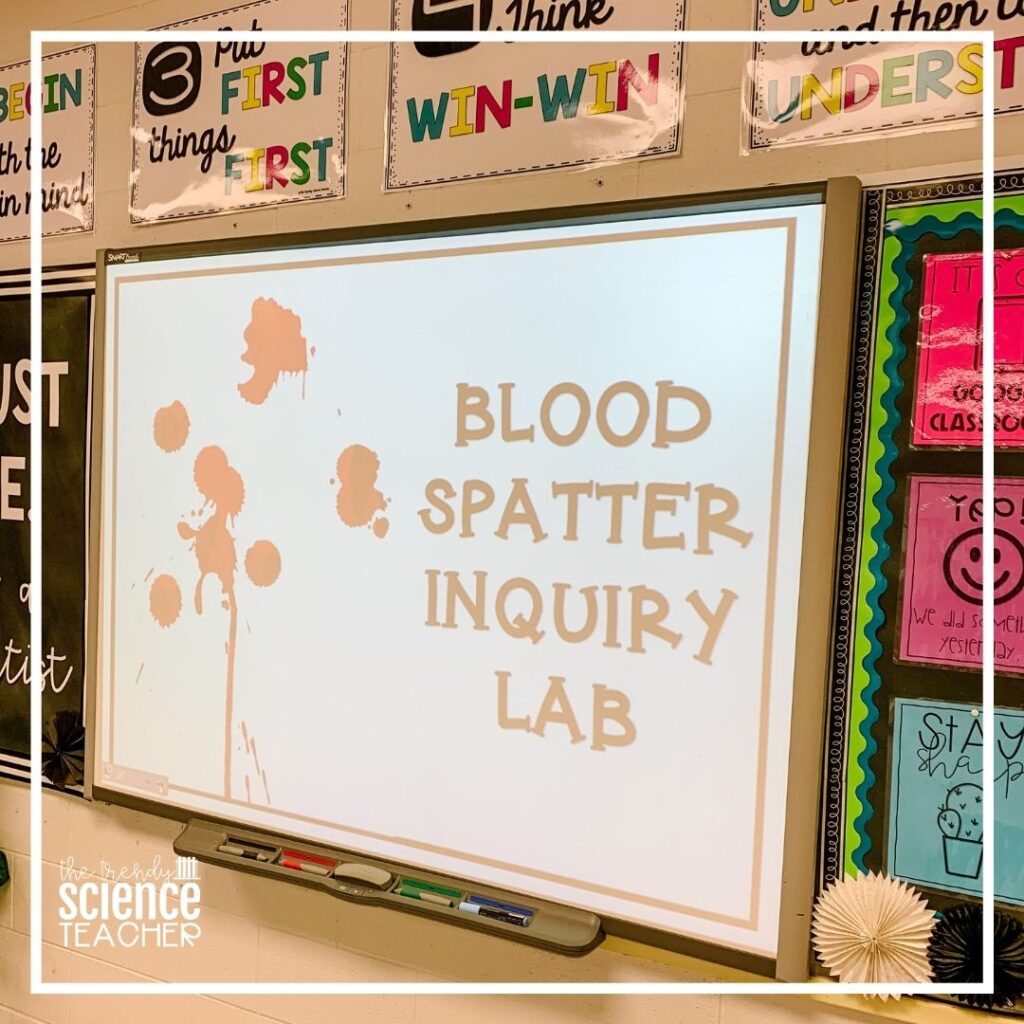
My students love a good lab and this one doesn’t disappoint. What makes it so great? It’s completely STUDENT directed! Oh…and the students get to stand on the lab stations- which they LOVE. I use this lab as an inquiry lab, meaning that my students conduct the lab BEFORE the lesson. This provides students with background knowledge of how blood behaves and makes for some really meaningful conversations during the lab and the lesson. Today, on the blog, I am sharing details for my blood spatter inquiry lab.
Note: This post contains affiliate links for Amazon. As an Amazon Associate, I earn from qualifying purchases. By purchasing an item on the Amazon site using these links, I will receive a small commission on your purchase. This commission does not affect the price of your item.
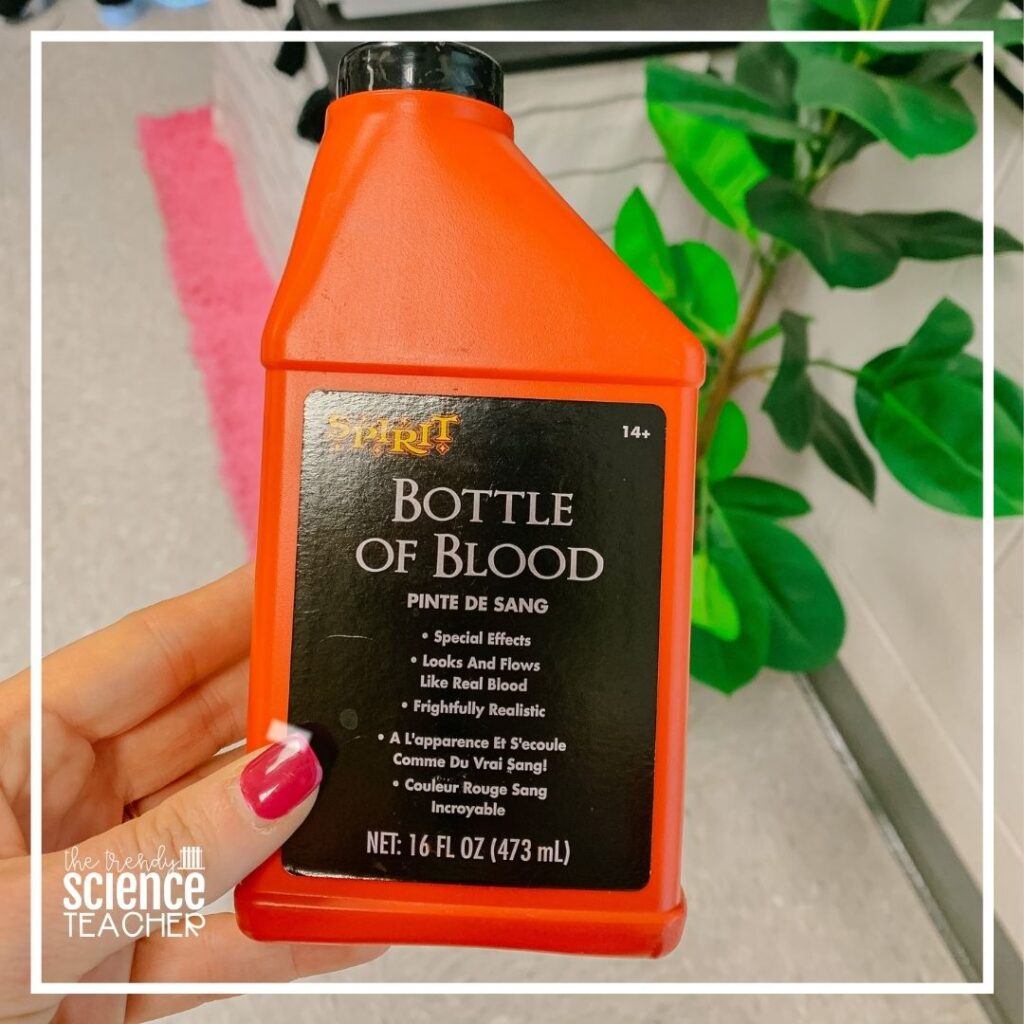
Supplies Needed:
The supplies are really simple. I place these supplies at the front of the room and students come to collect what they need.

How I Introduce the Lab:
Before I send the students to the lab area, I pose the following question:
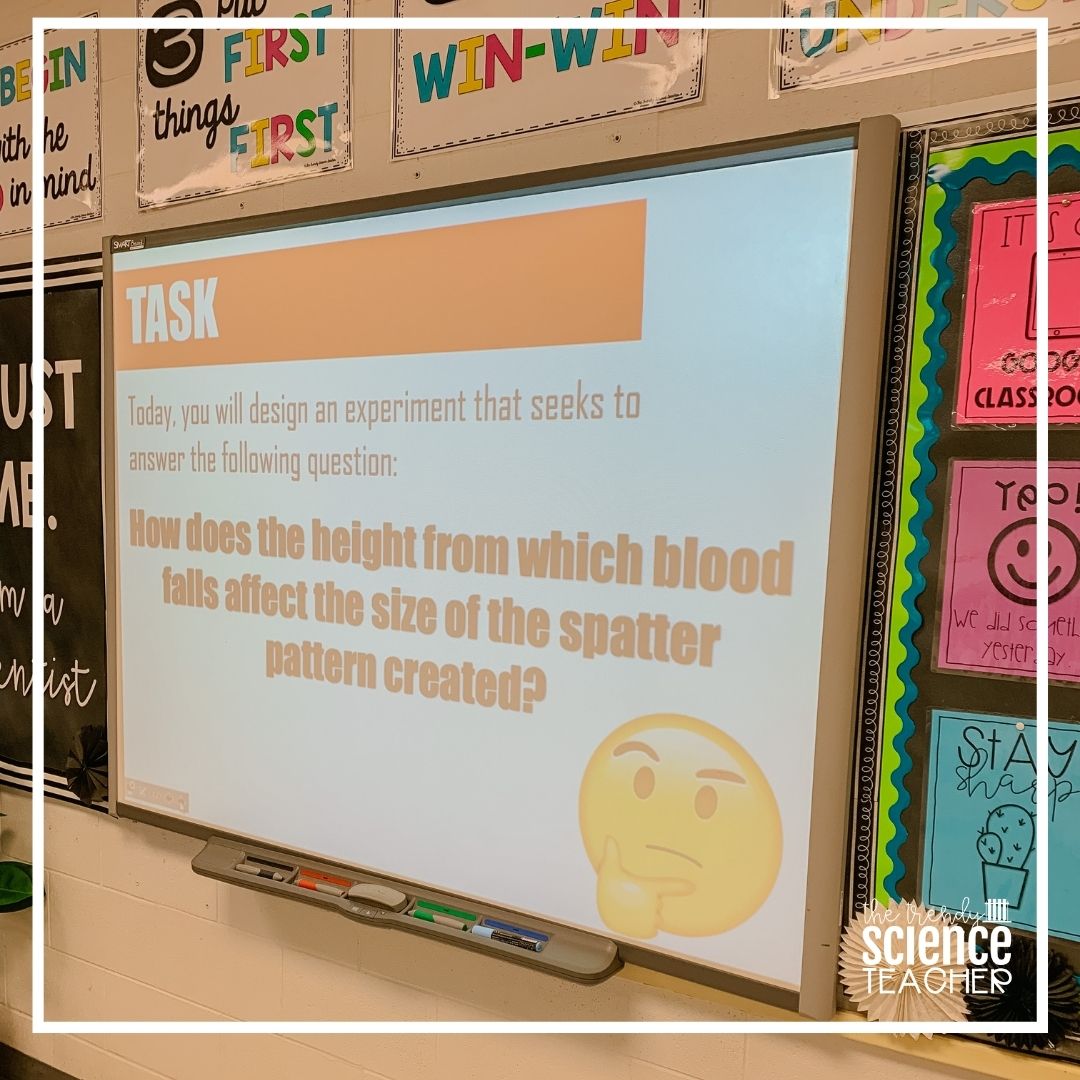
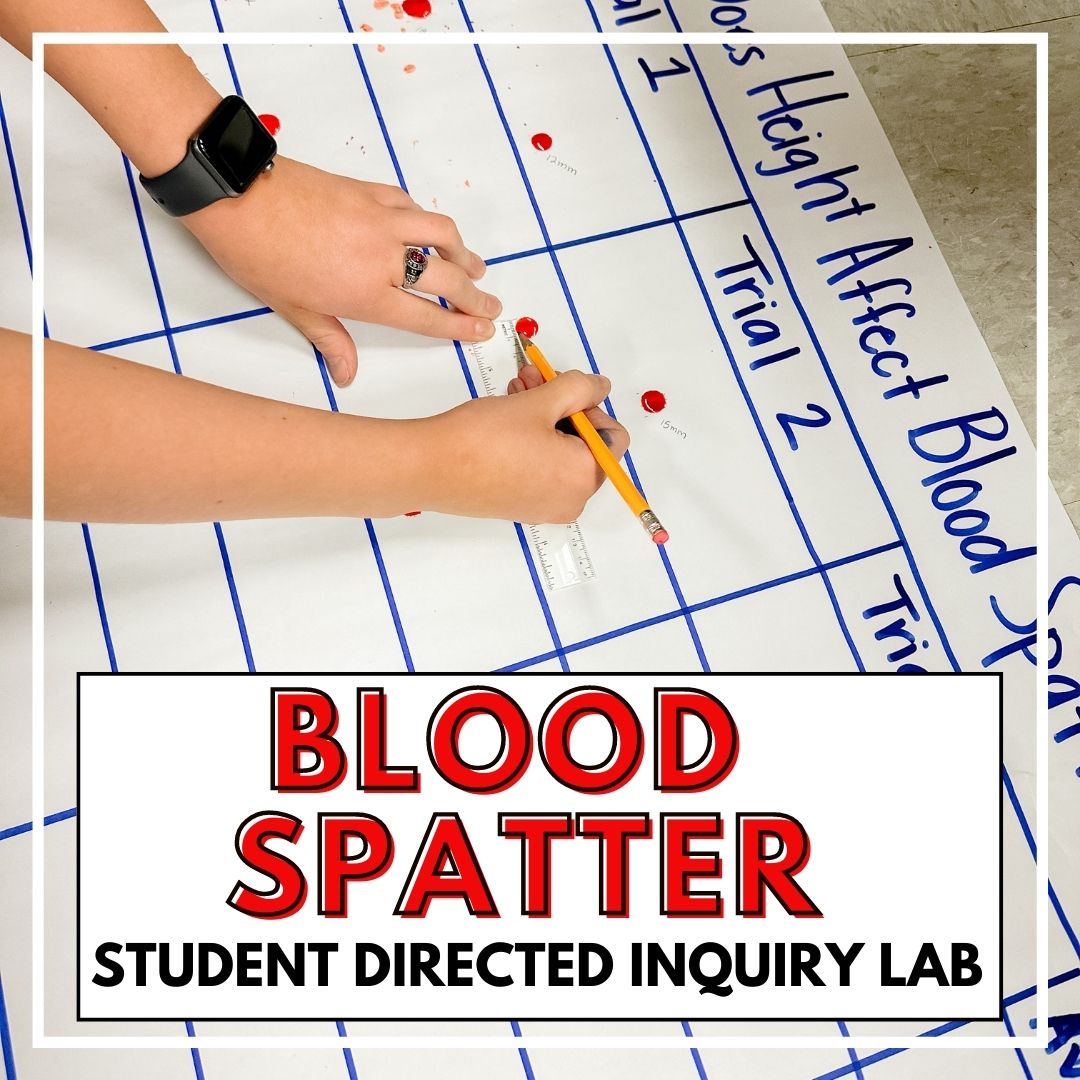
I tell the students that their task is to create an experiment that tests the effect of drop height on a blood stain. I use this presentation to explain the expectations of the lab. You can download it HERE.
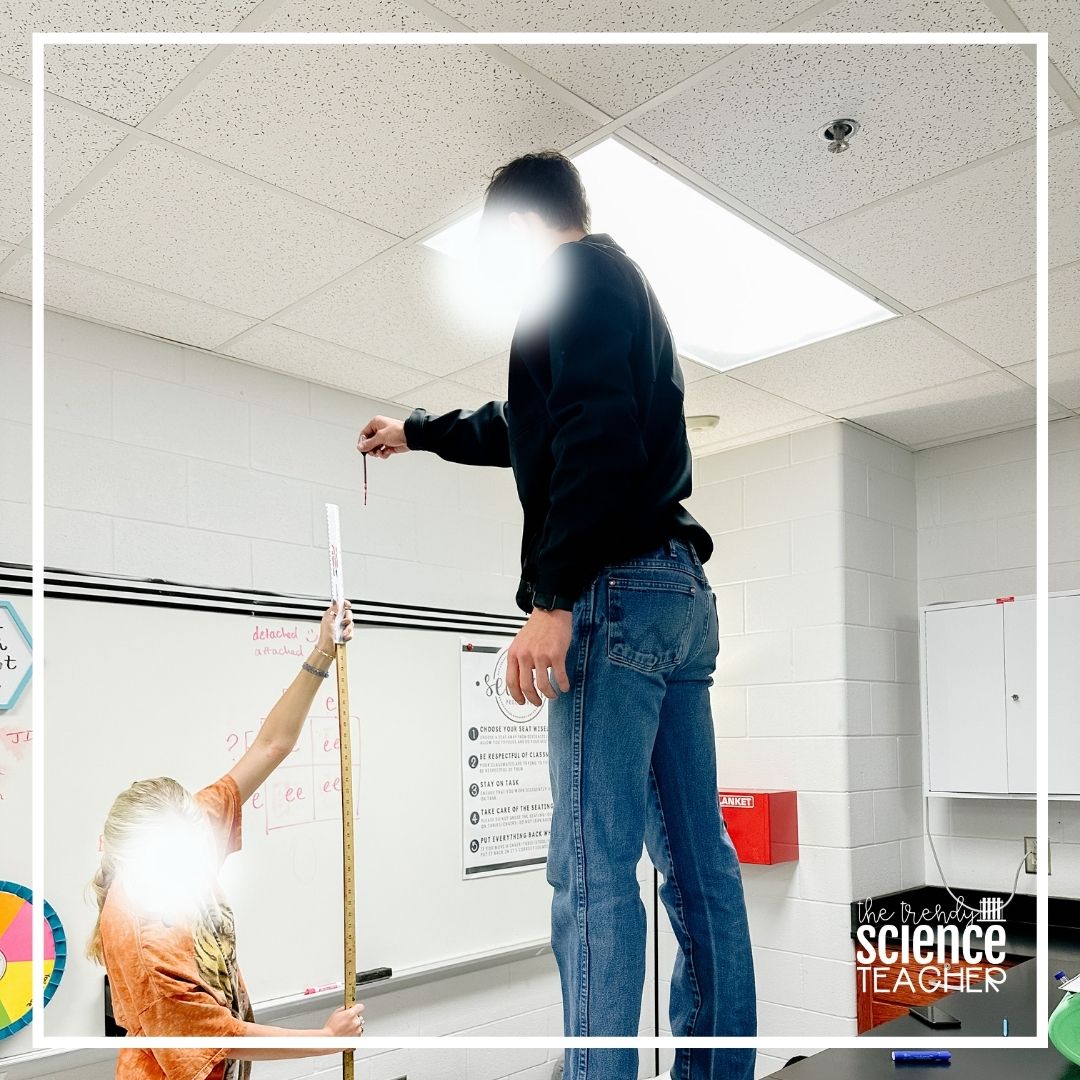
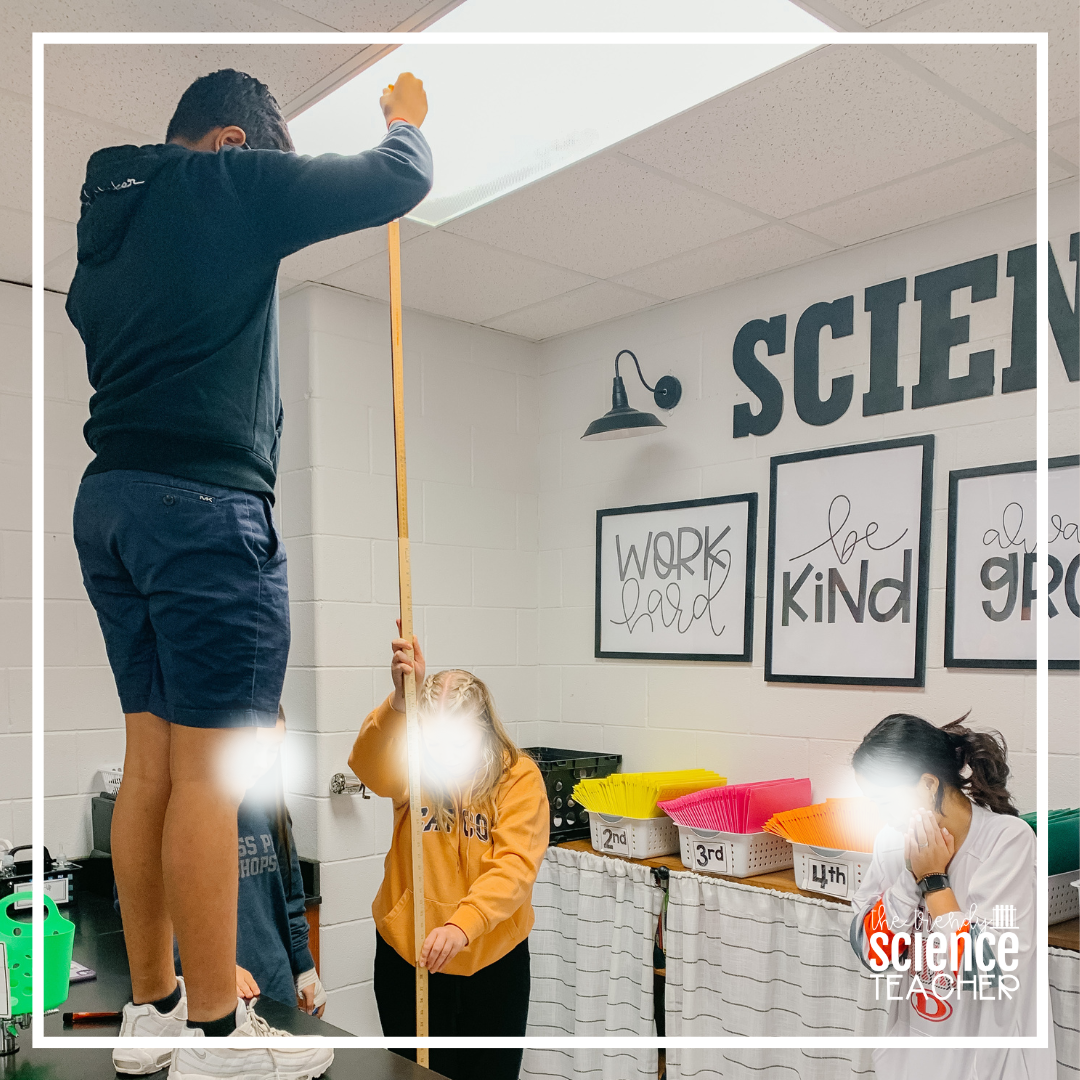
The Lab at Work:
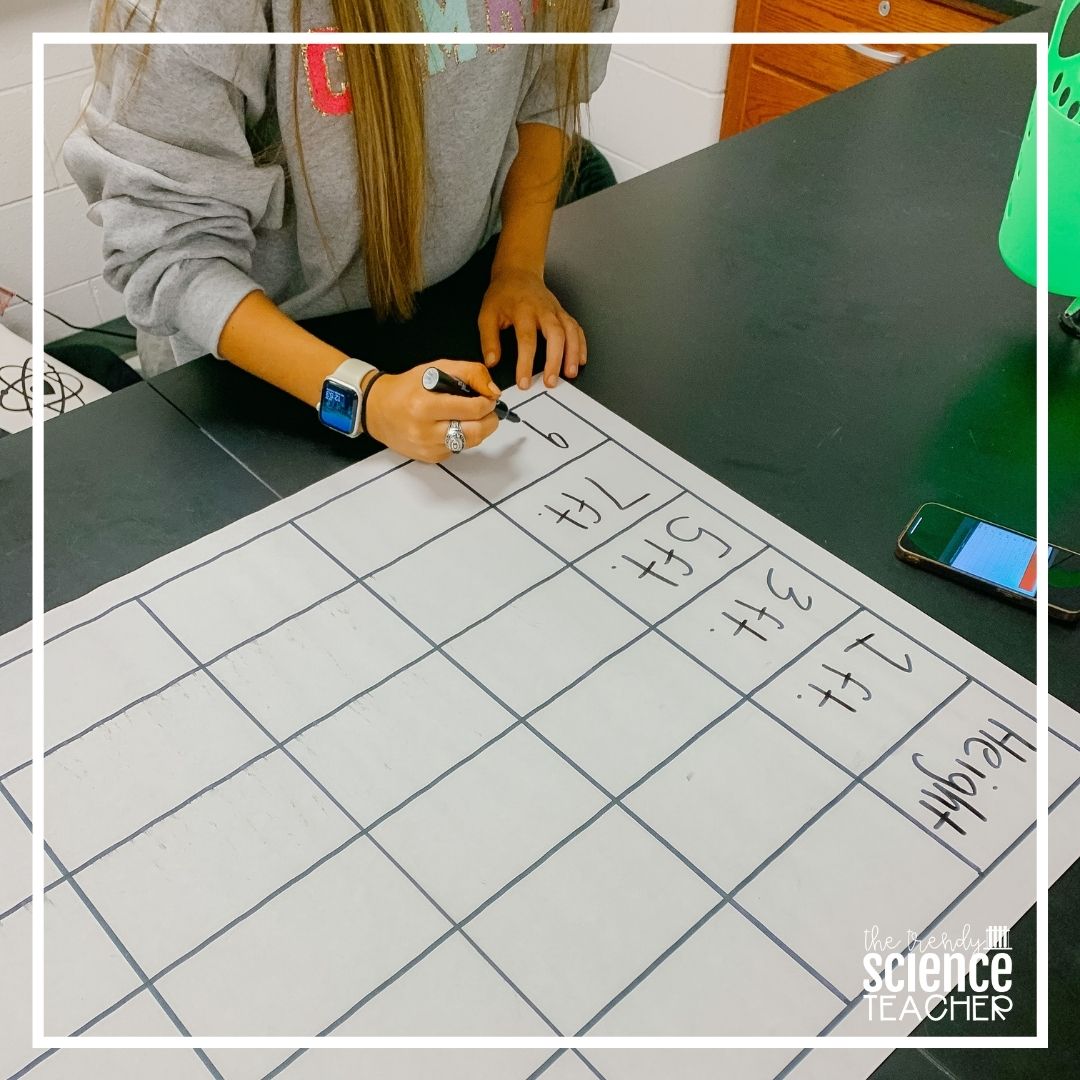
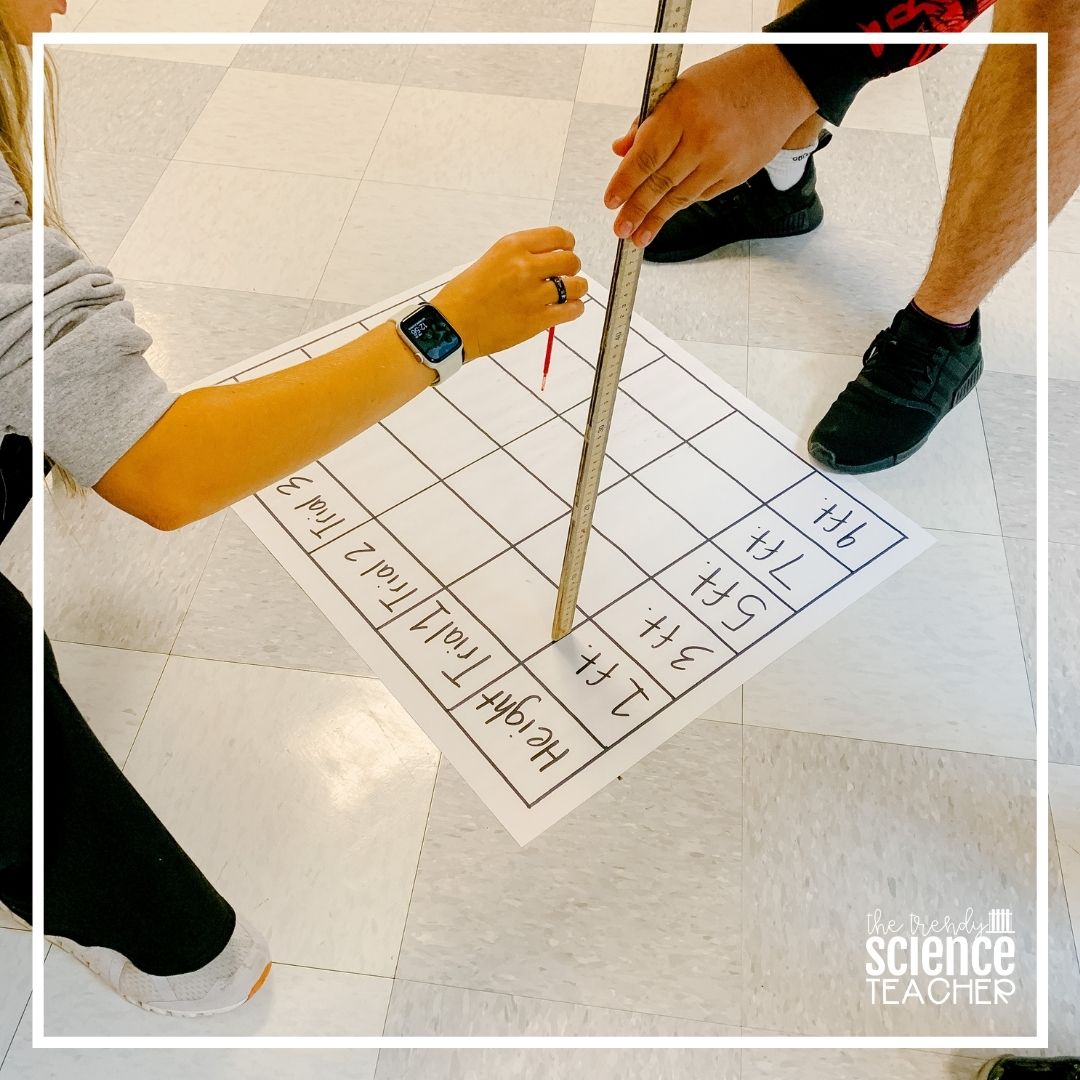
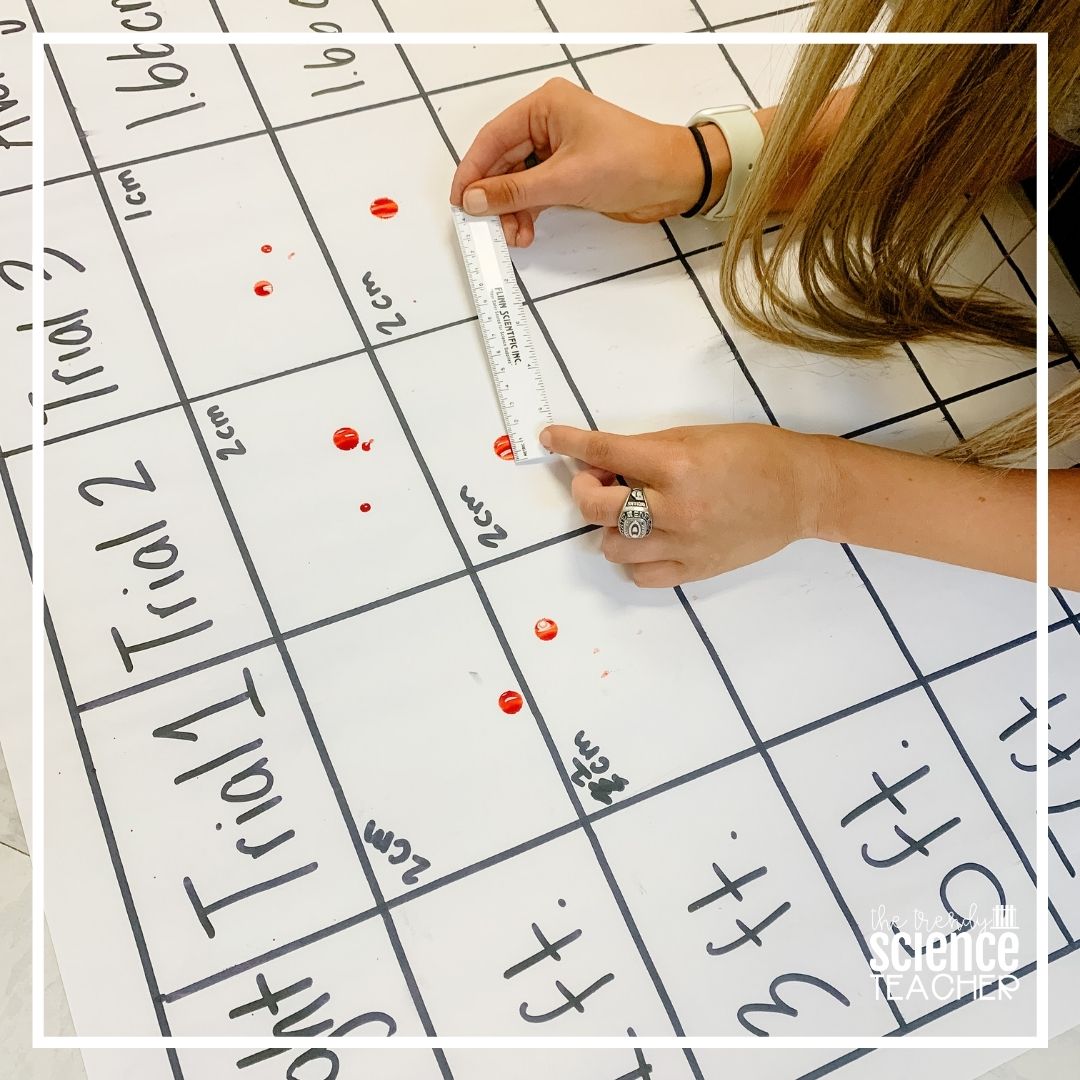
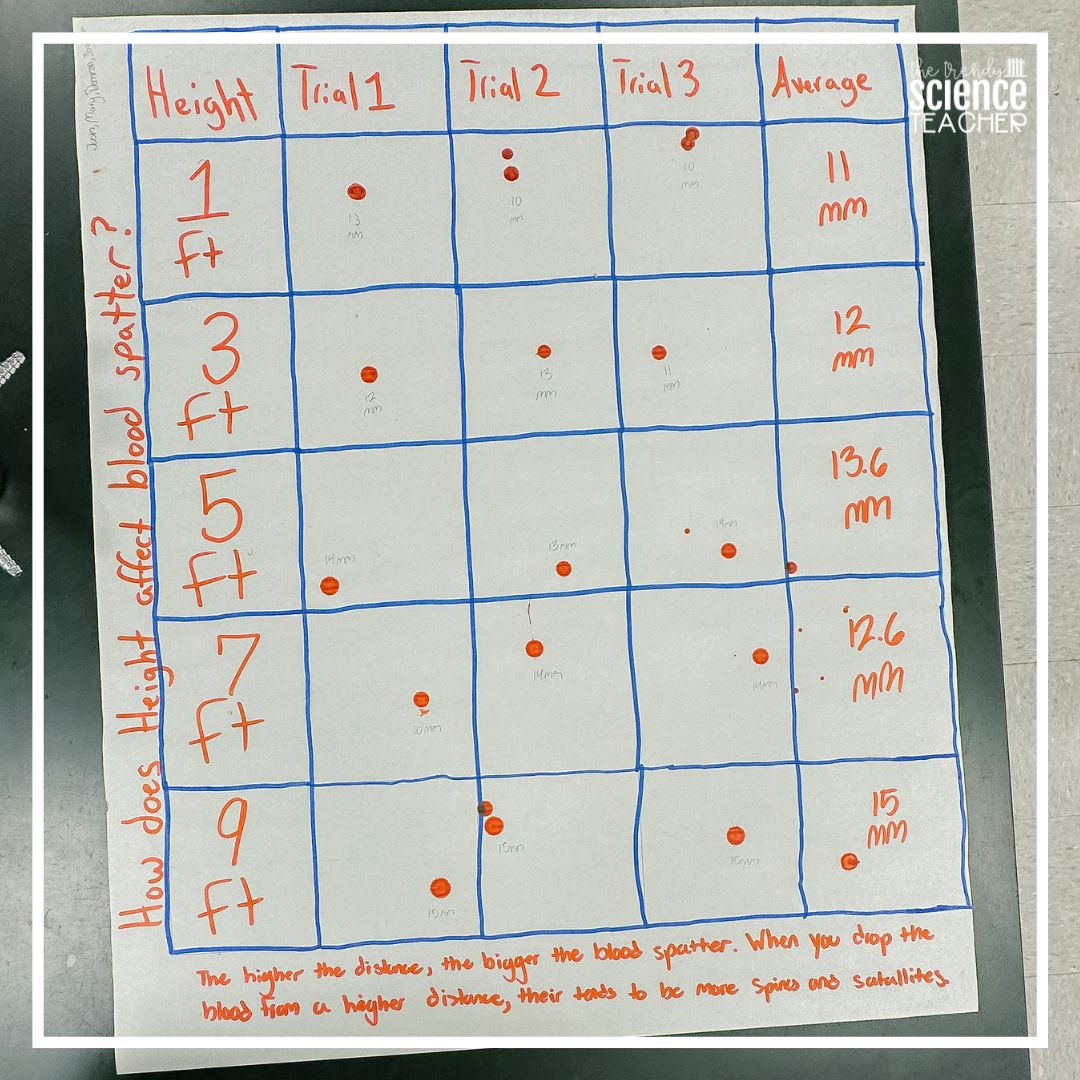
Students then get busy designing their experiment. Most students create an experiment in which they drop blood from various heights (1ft, 3 ft, 5 ft, 7 ft, etc.). They use a pipette to drop blood onto their chart paper and then measure the diameter of their blood stains.
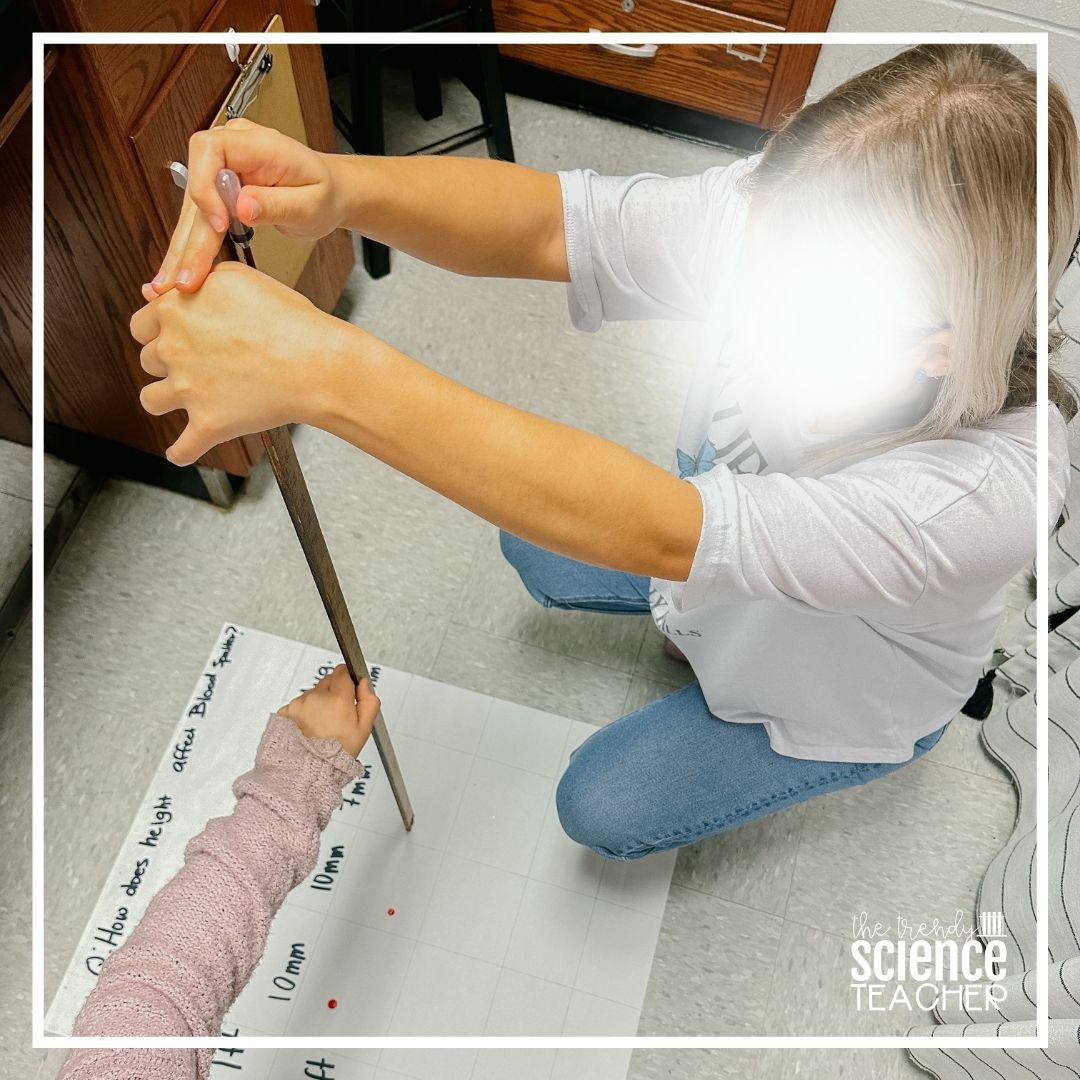
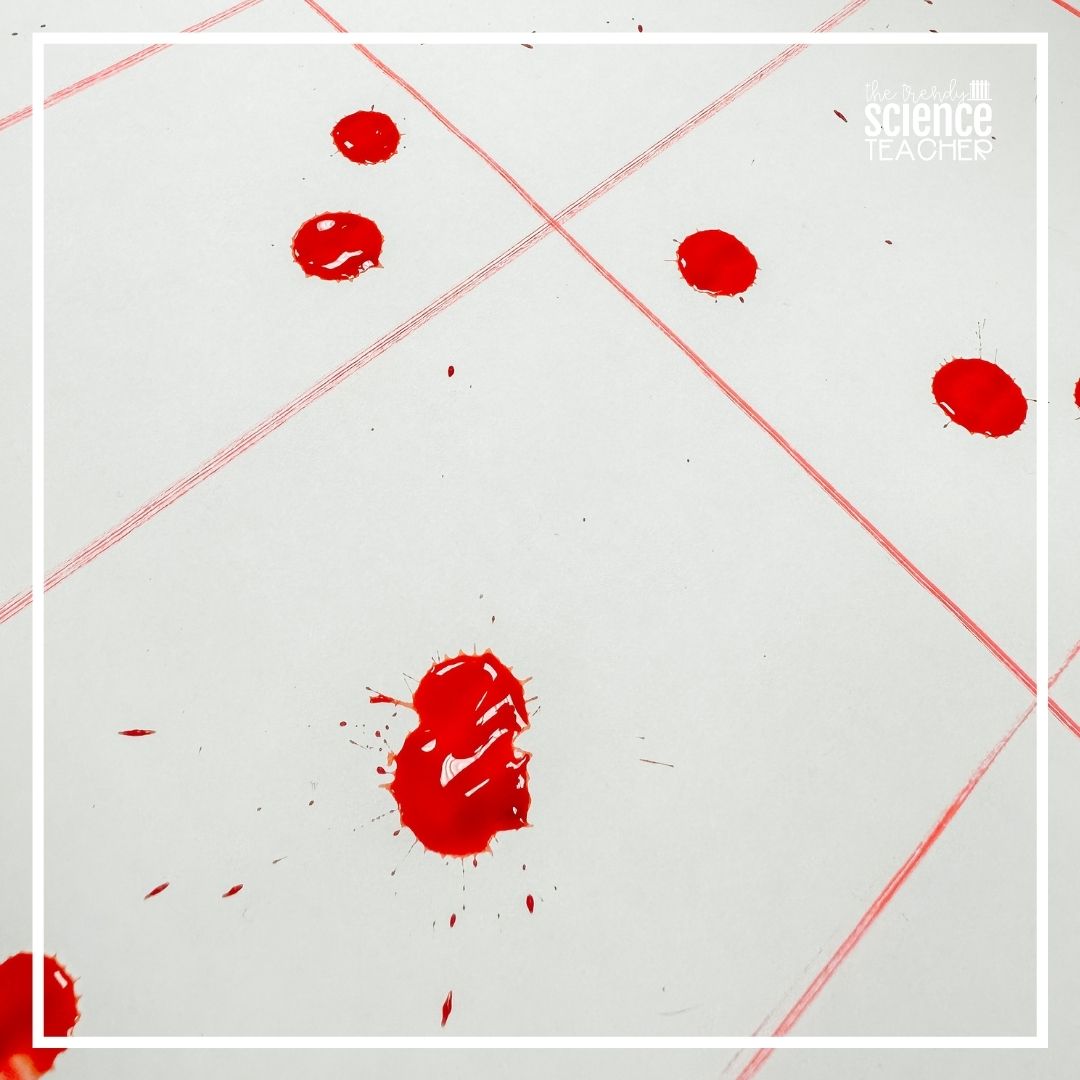
During the lab, I walk around and discuss findings with the students. I question their results, encourage further exploration, and provide guidance when needed. At this point, students have no background knowledge of blood behavior, so I use this lab to show satellite spatter, how consecutive drops give energy to the blood, and how different surfaces create different spatter patterns.

The Results:
After collecting data, students should notice that as the distance of the fall increases, the diameter of the bloodstain will increase (until it reaches a maximum diameter). The maximum diameter for the bloodstain occurs after the drop has fallen approximately 7 ft. Students might also notice that the volume of the drop of blood also affects the diameter of the bloodstain. As volume increases, so will the diameter of the resulting bloodstain.
Through discovery, my forensics students create their own knowledge of how blood behaves. This produces deep conversations and meaningful learning for my students that expands the confines of the classroom walls. If you teach forensics, you’ve got to try this Blood Spatter Inquiry Lab to introduce blood spatter. It’s easy to set up and the students love it!
Are you looking for more blood evidence resources? Check out my entire BLOOD EVIDENCE LESSON PLAN BUNDLE!

Until next time! Happy teaching.


